Our Journey

Design It. Build It.
Build It Better.

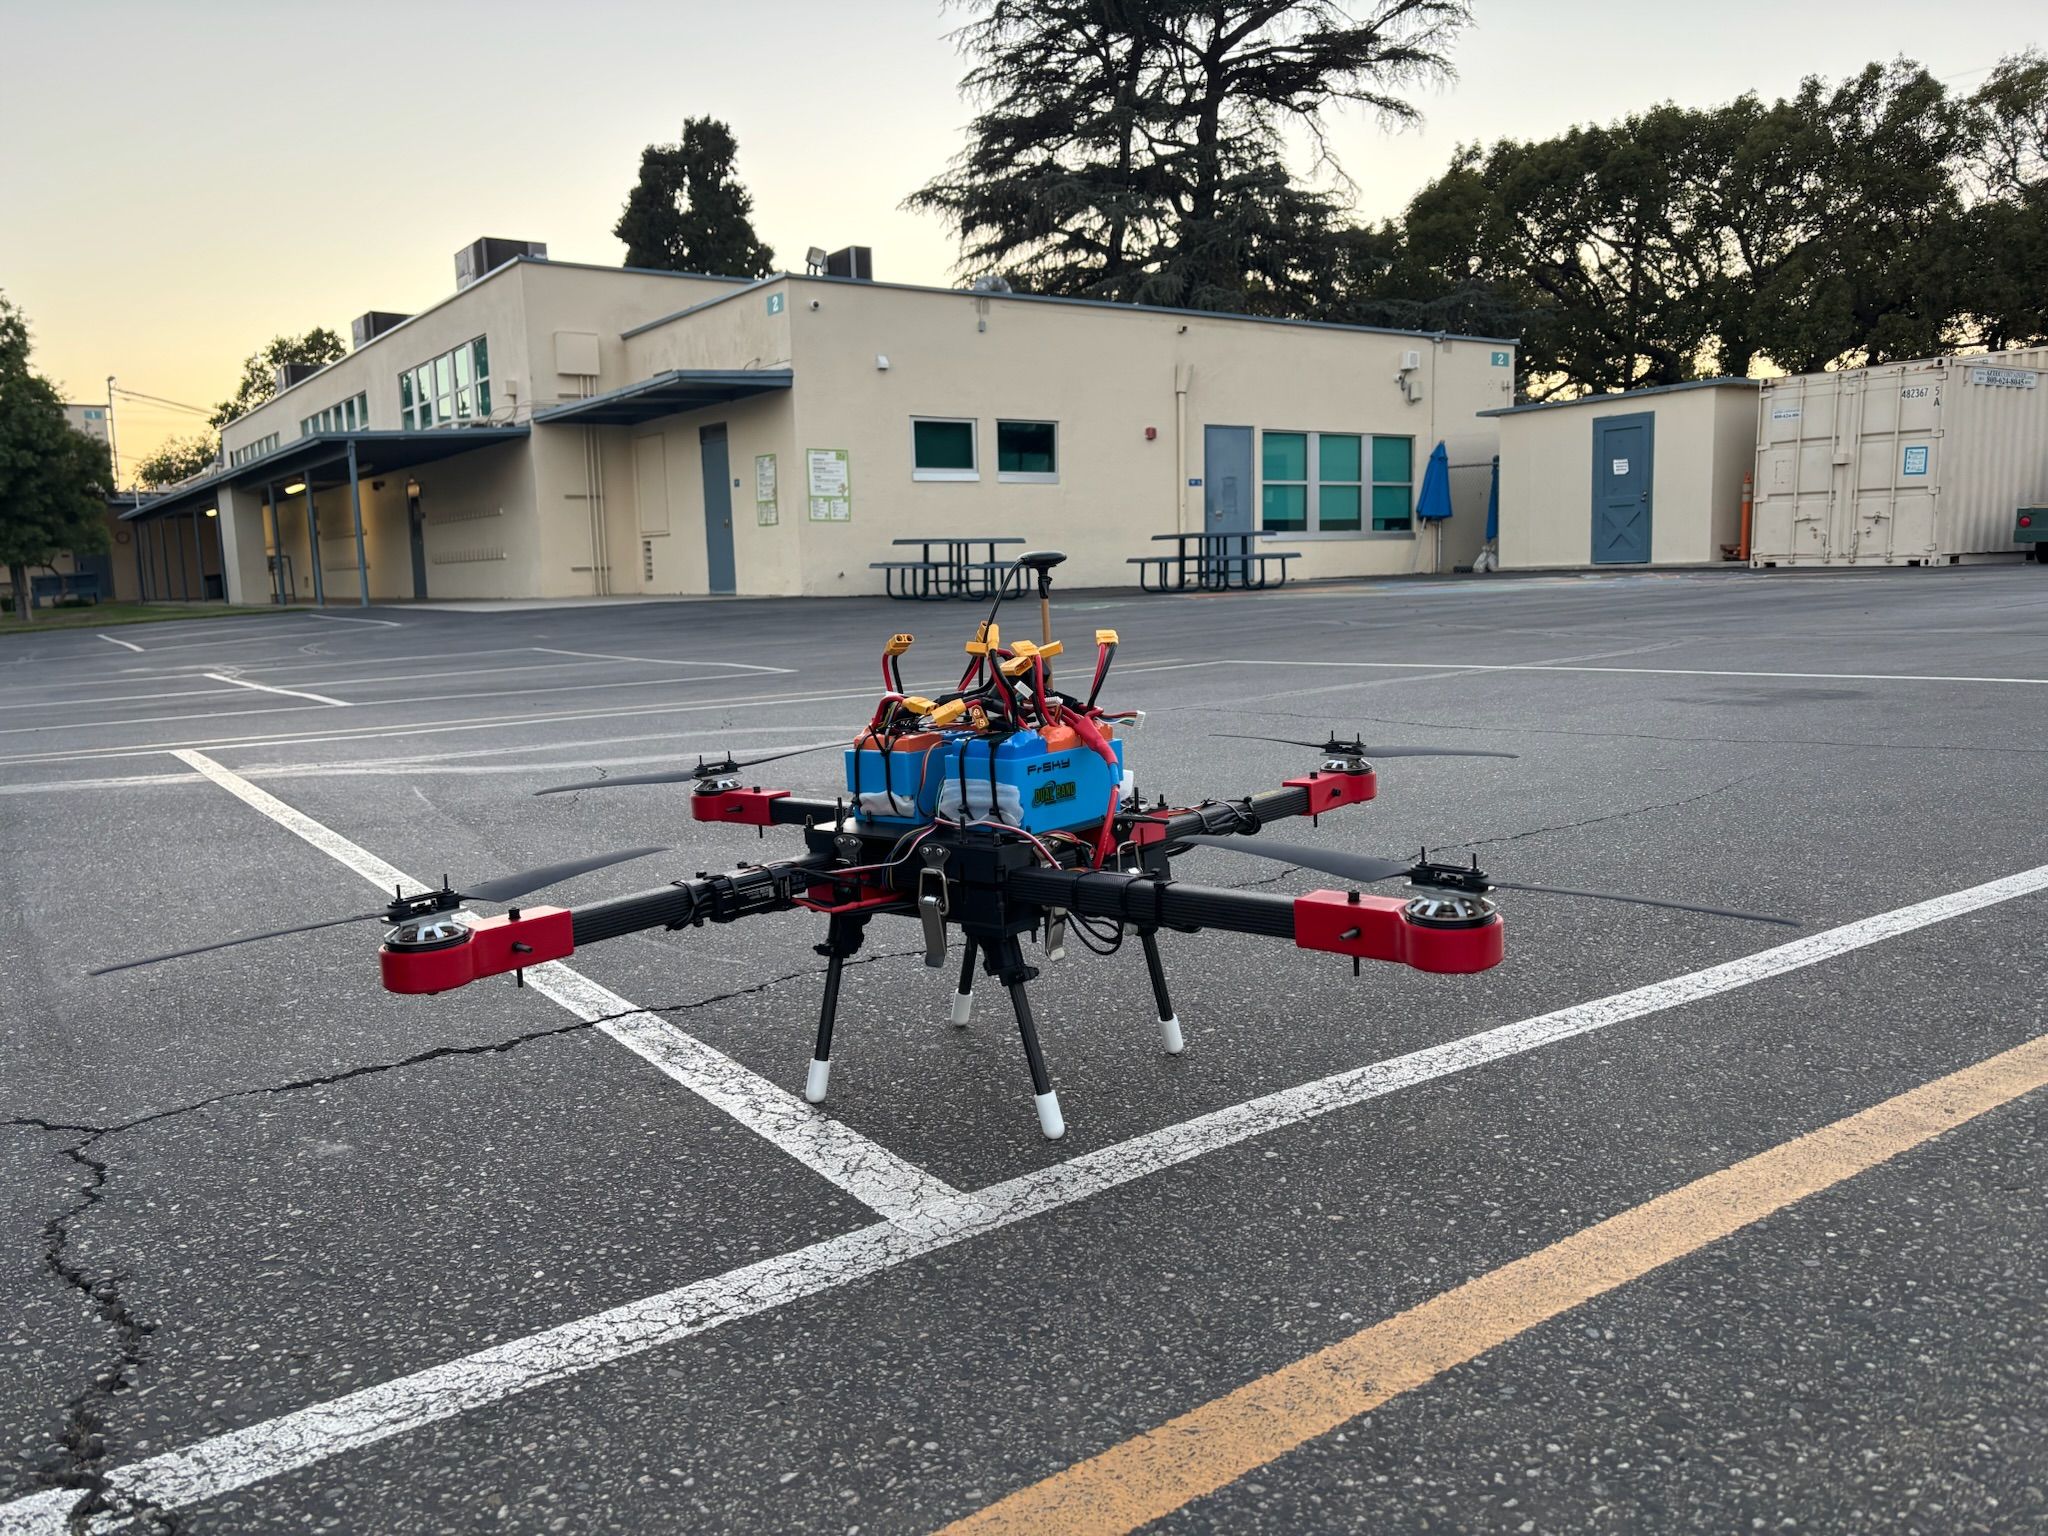
Every aircraft we fly are fully student lead. Designed, Built, and Flown. Every part of the drone belongs to a hardwork from the students.

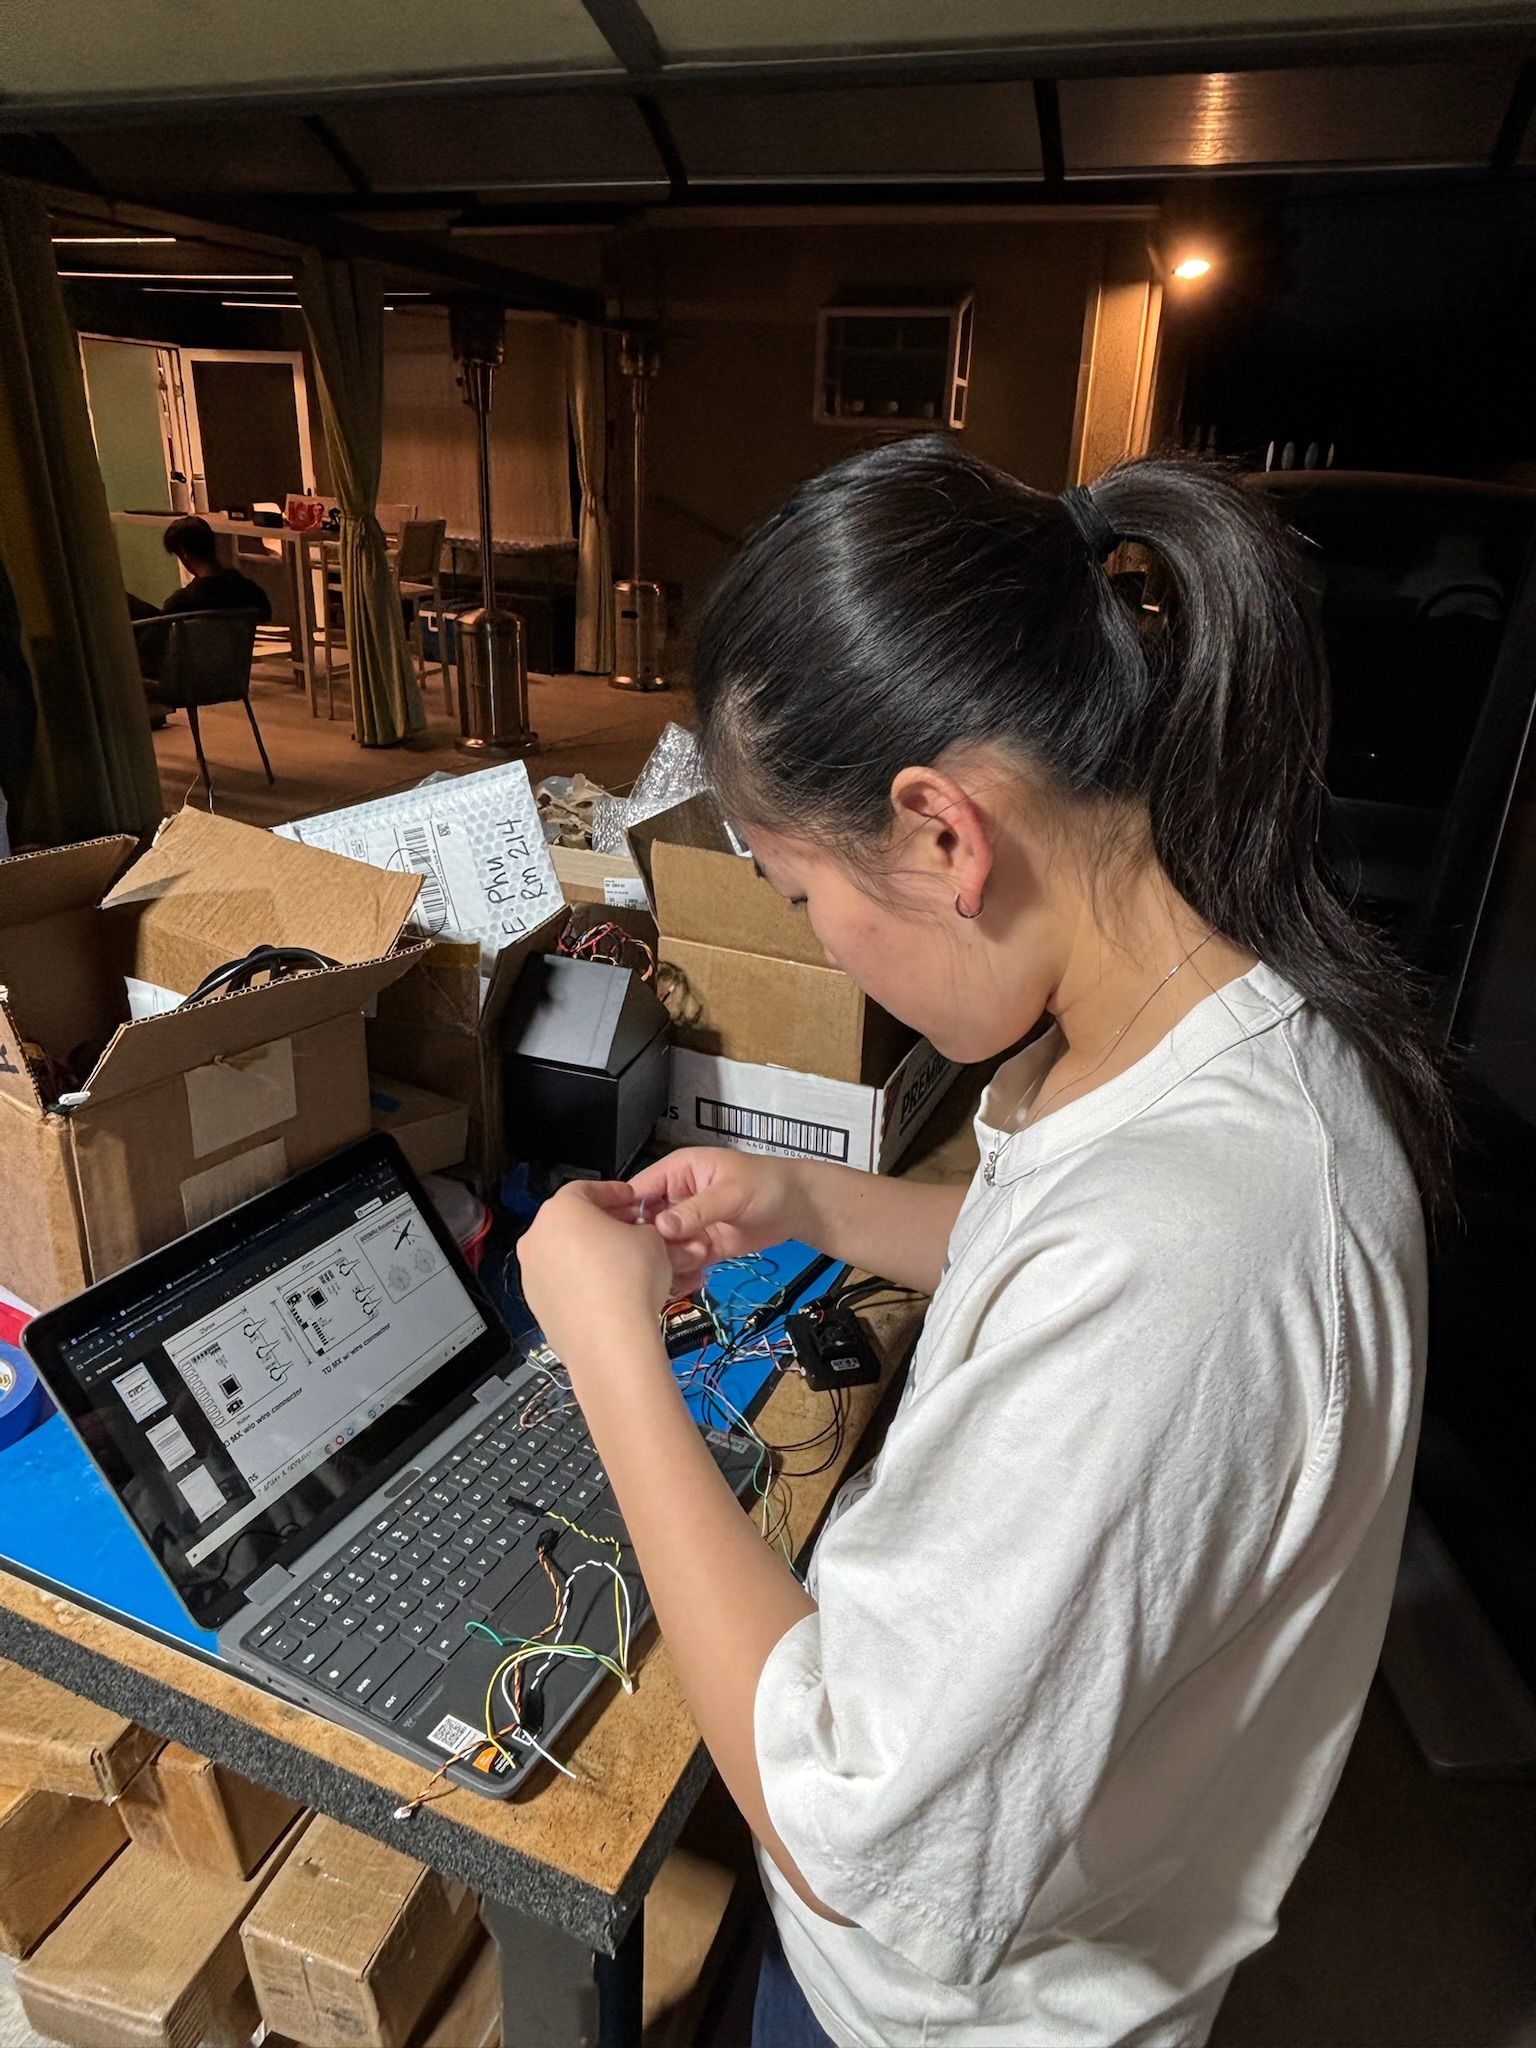
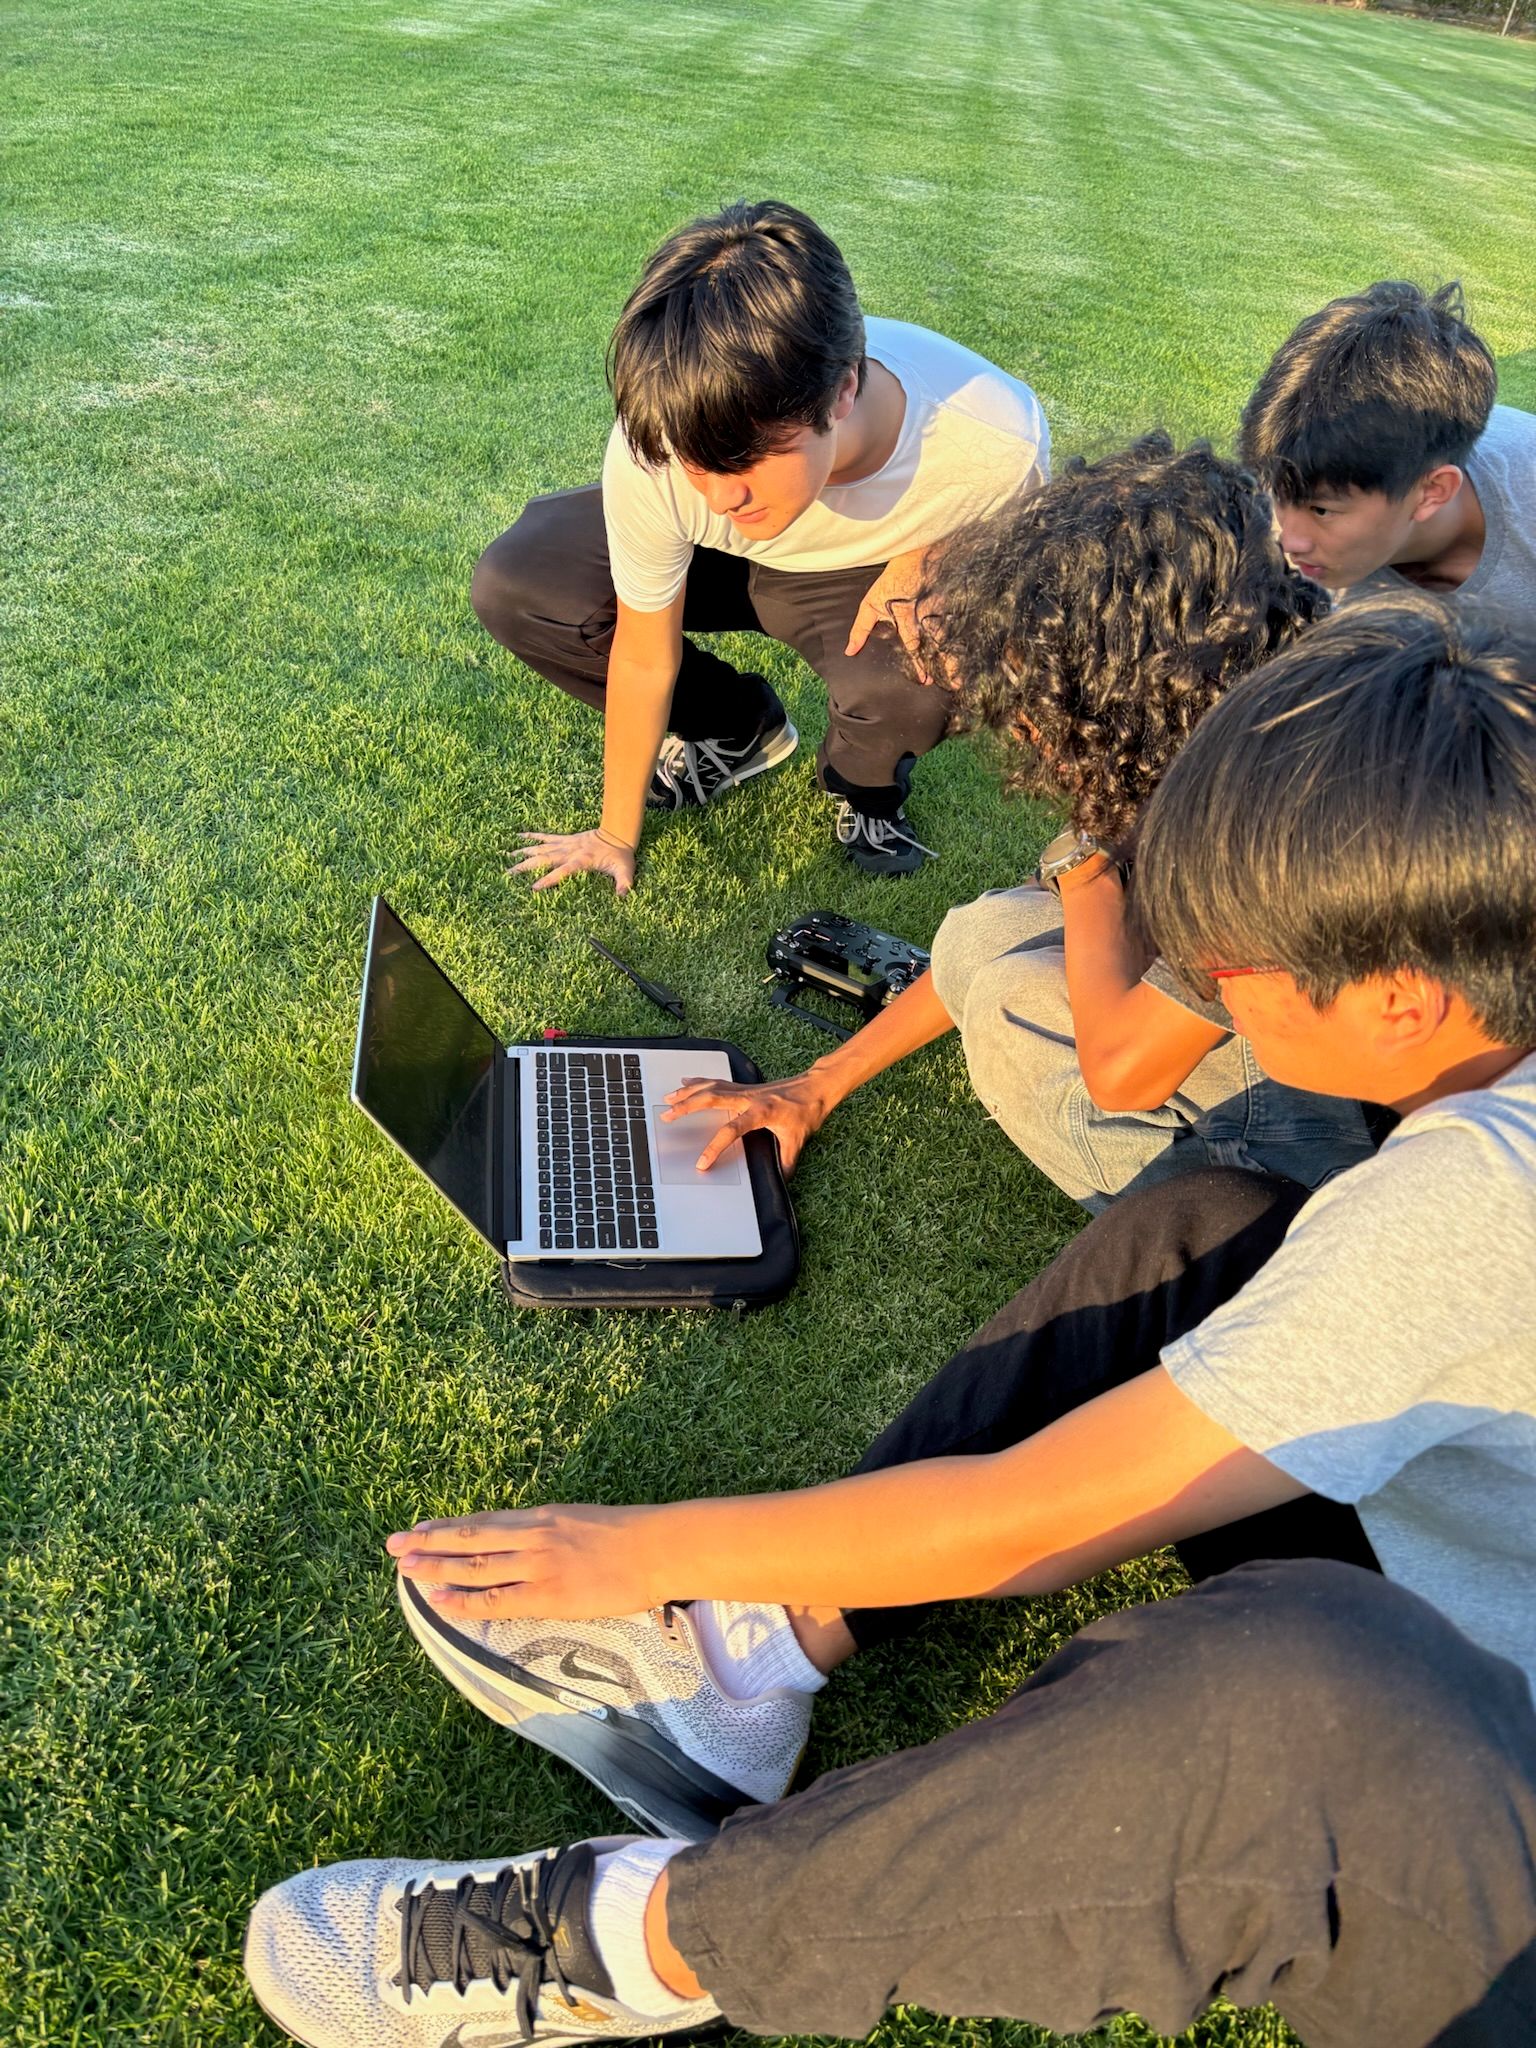
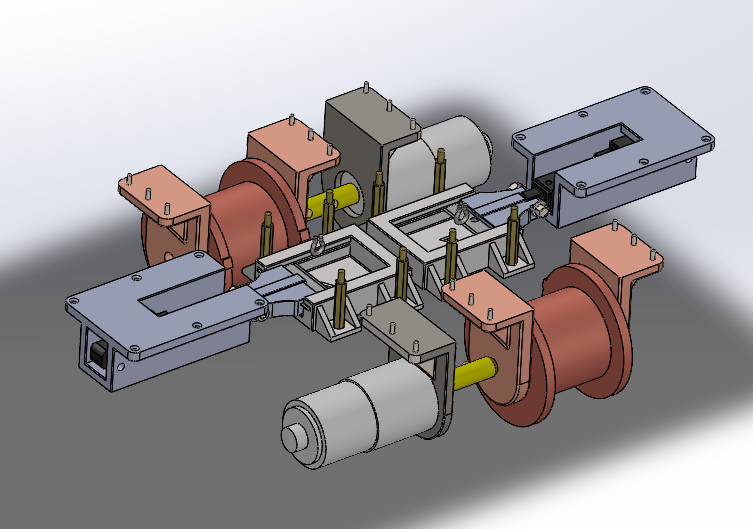
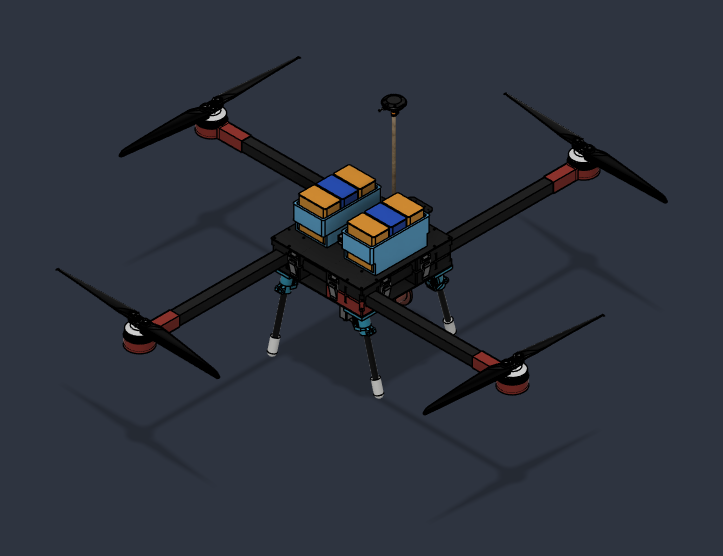
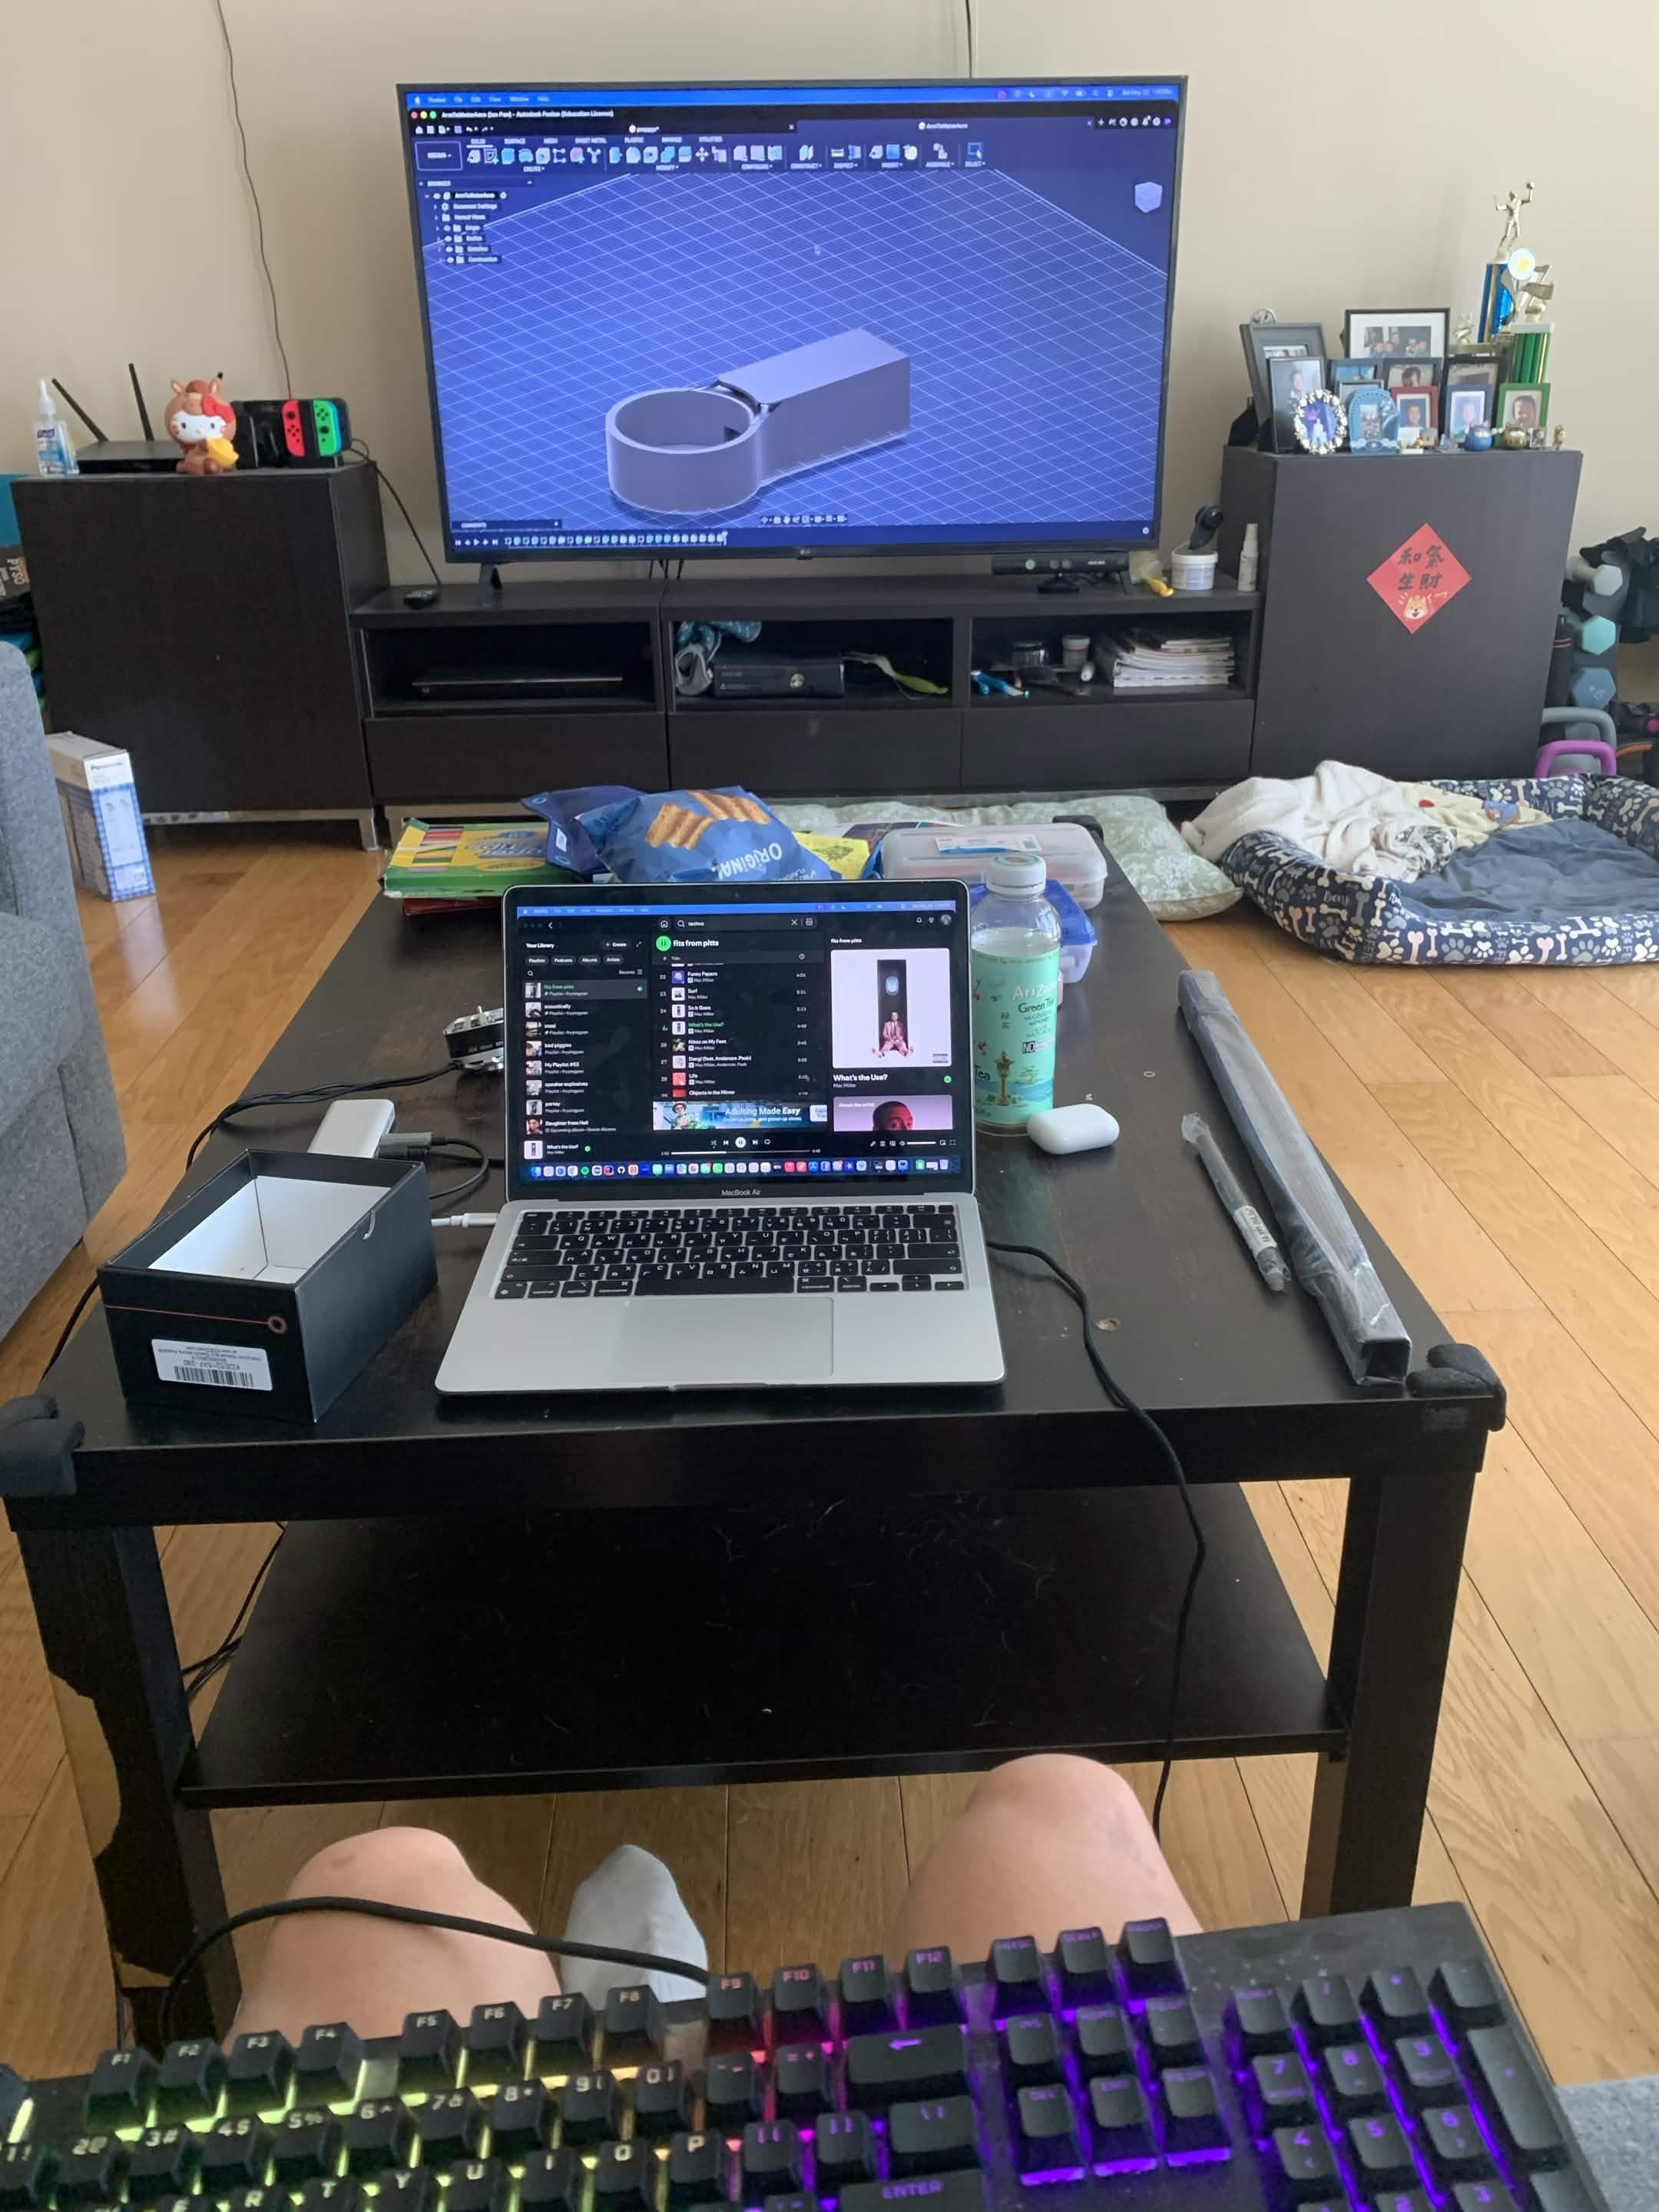
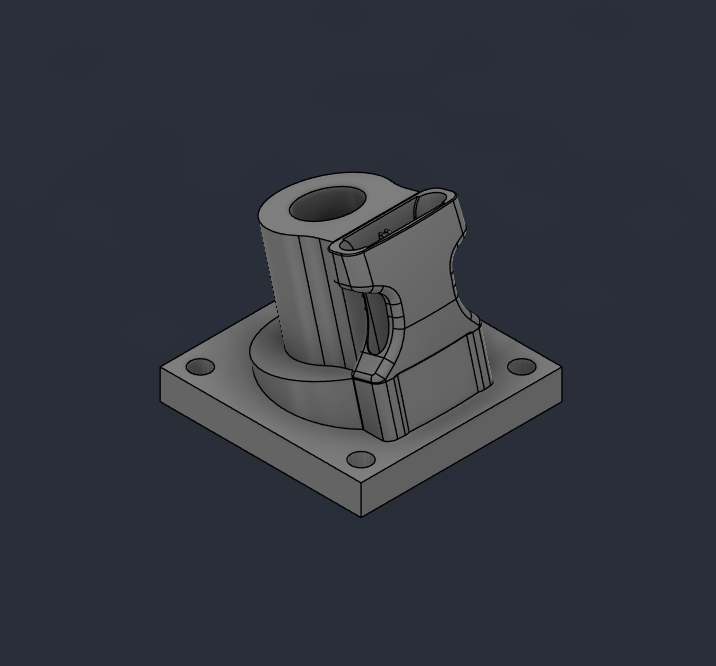
Team members gathered around CAD models on a laptop during the design phase 1 Team members gathered around CAD models on a laptop during the design phase 2 Team members gathered around CAD models on a laptop during the design phase 3 Team members gathered around CAD models on a laptop during the design phase 4

Design

Before a single part is cut, the team defines the mission requirements from the SUAS rulebook: payload mass, minimum flight time, waypoint accuracy, and the imagery the drone must capture.

From those targets we run trade studies comparing airframe layouts, motor and propeller combinations, and battery chemistries. The winning configuration then gets modeled in full 3D CAD, every bracket and wire run included, so weight and center-of-gravity problems surface on screen instead of on the flight line.
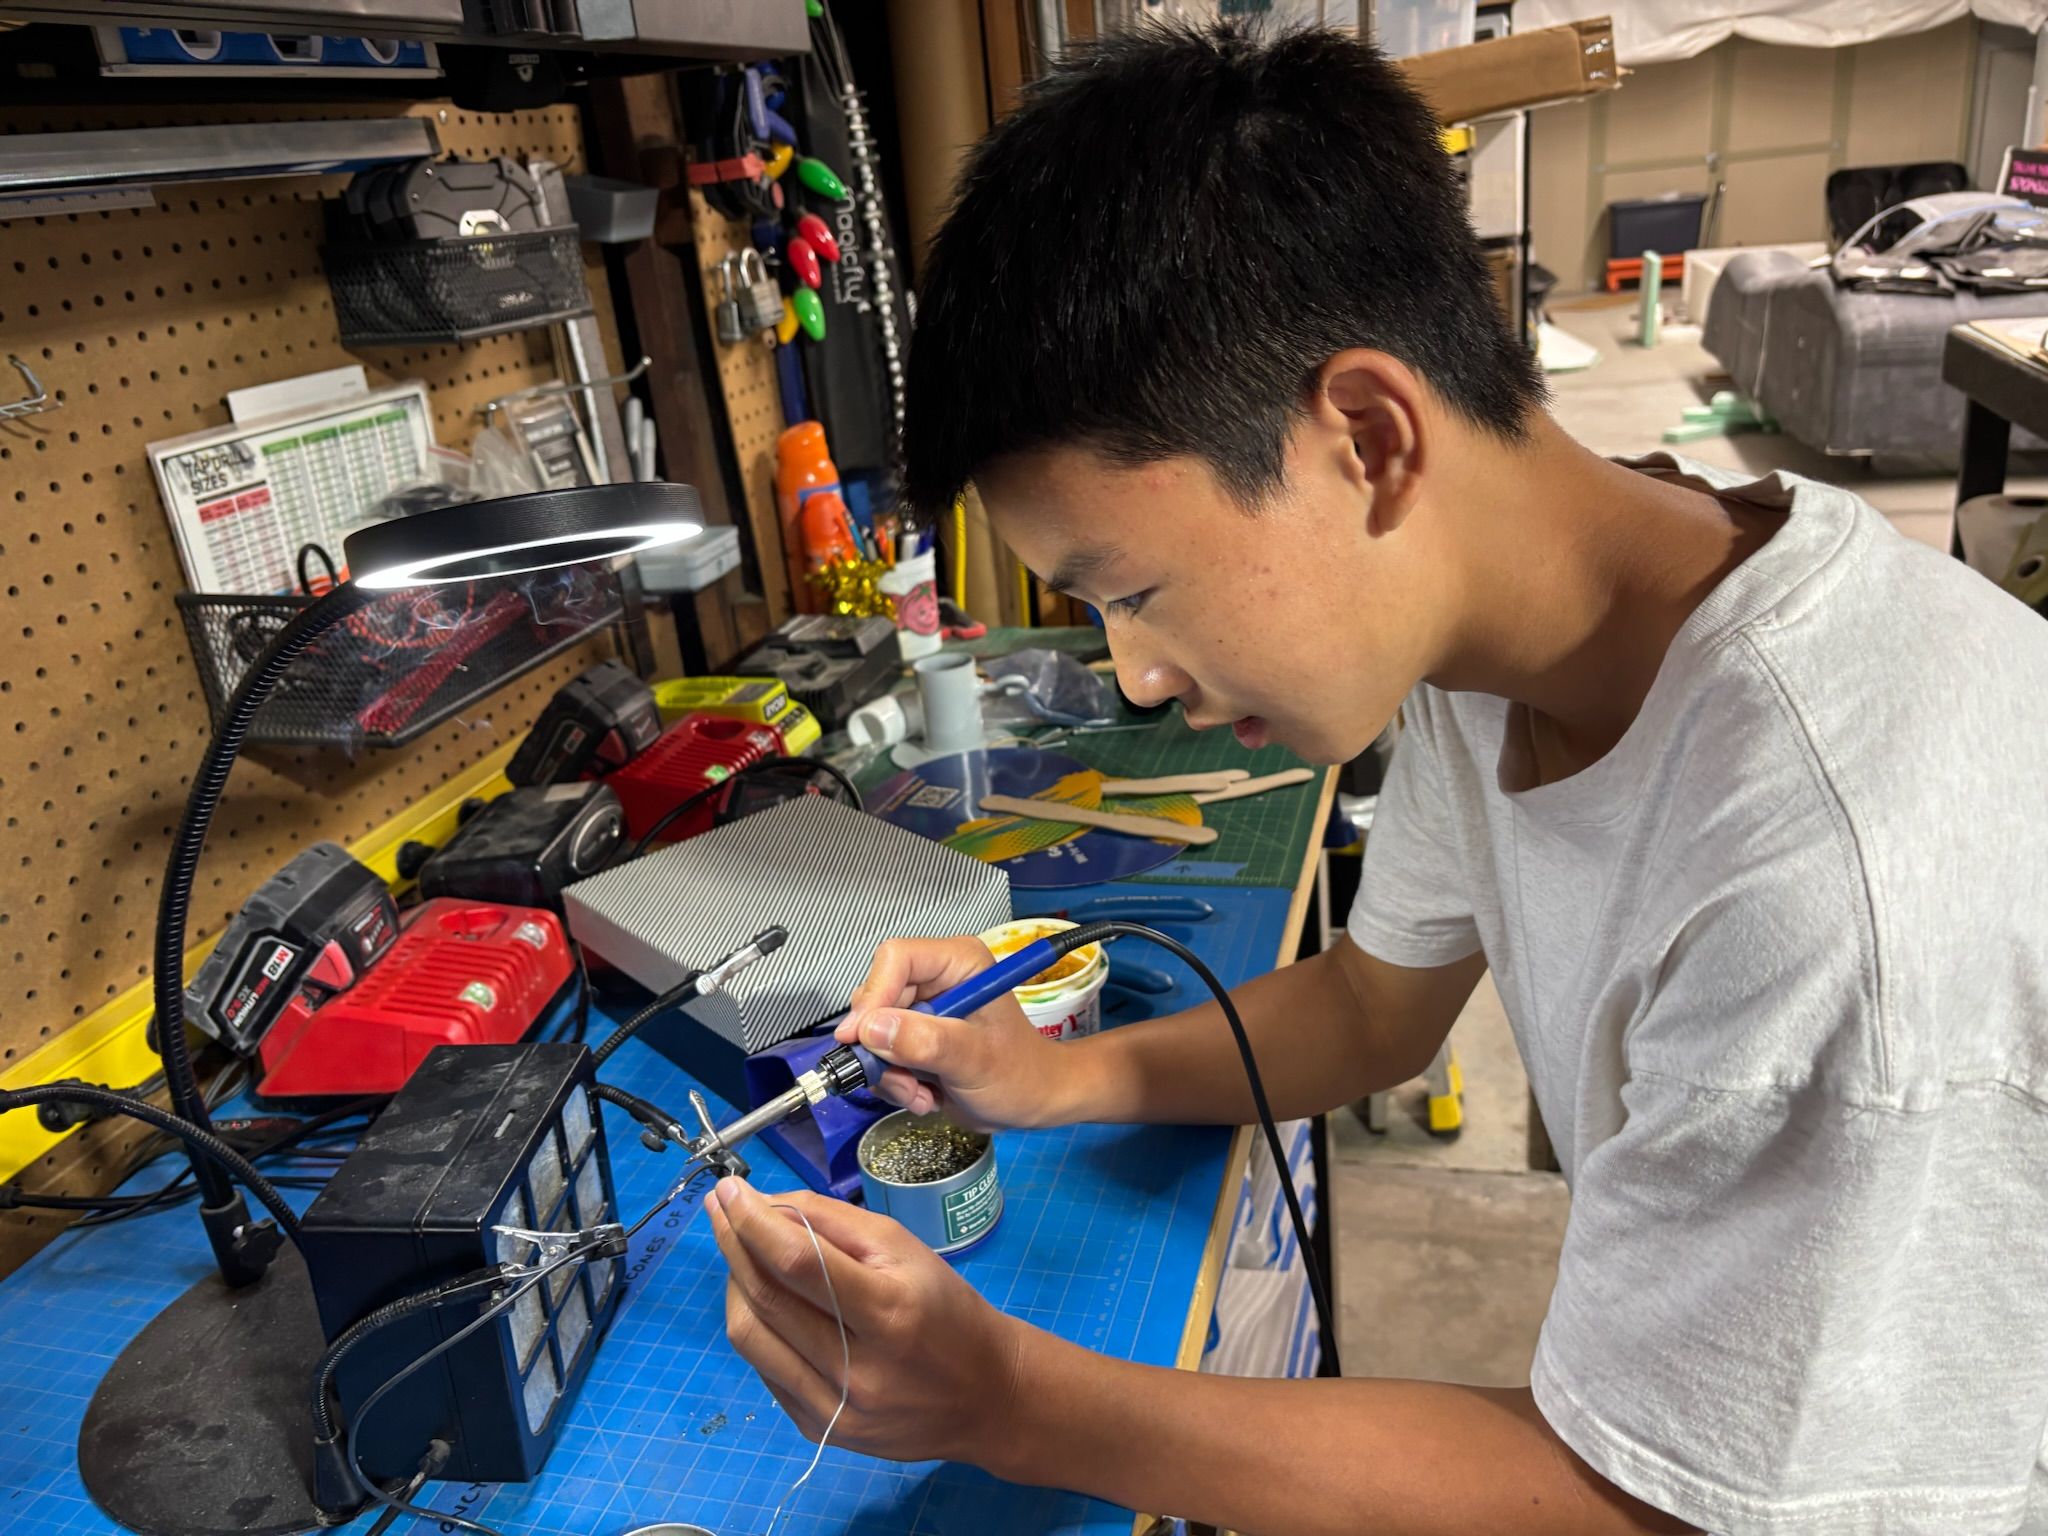
Student soldering the electronics harness for the first prototype on a workbench 1 Student soldering the electronics harness for the first prototype on a workbench 2 Student soldering the electronics harness for the first prototype on a workbench 3 Student soldering the electronics harness for the first prototype on a workbench 4 Student soldering the electronics harness for the first prototype on a workbench 5 Student soldering the electronics harness for the first prototype on a workbench 6

Build 1

Build 1 is where the theory meets reality.

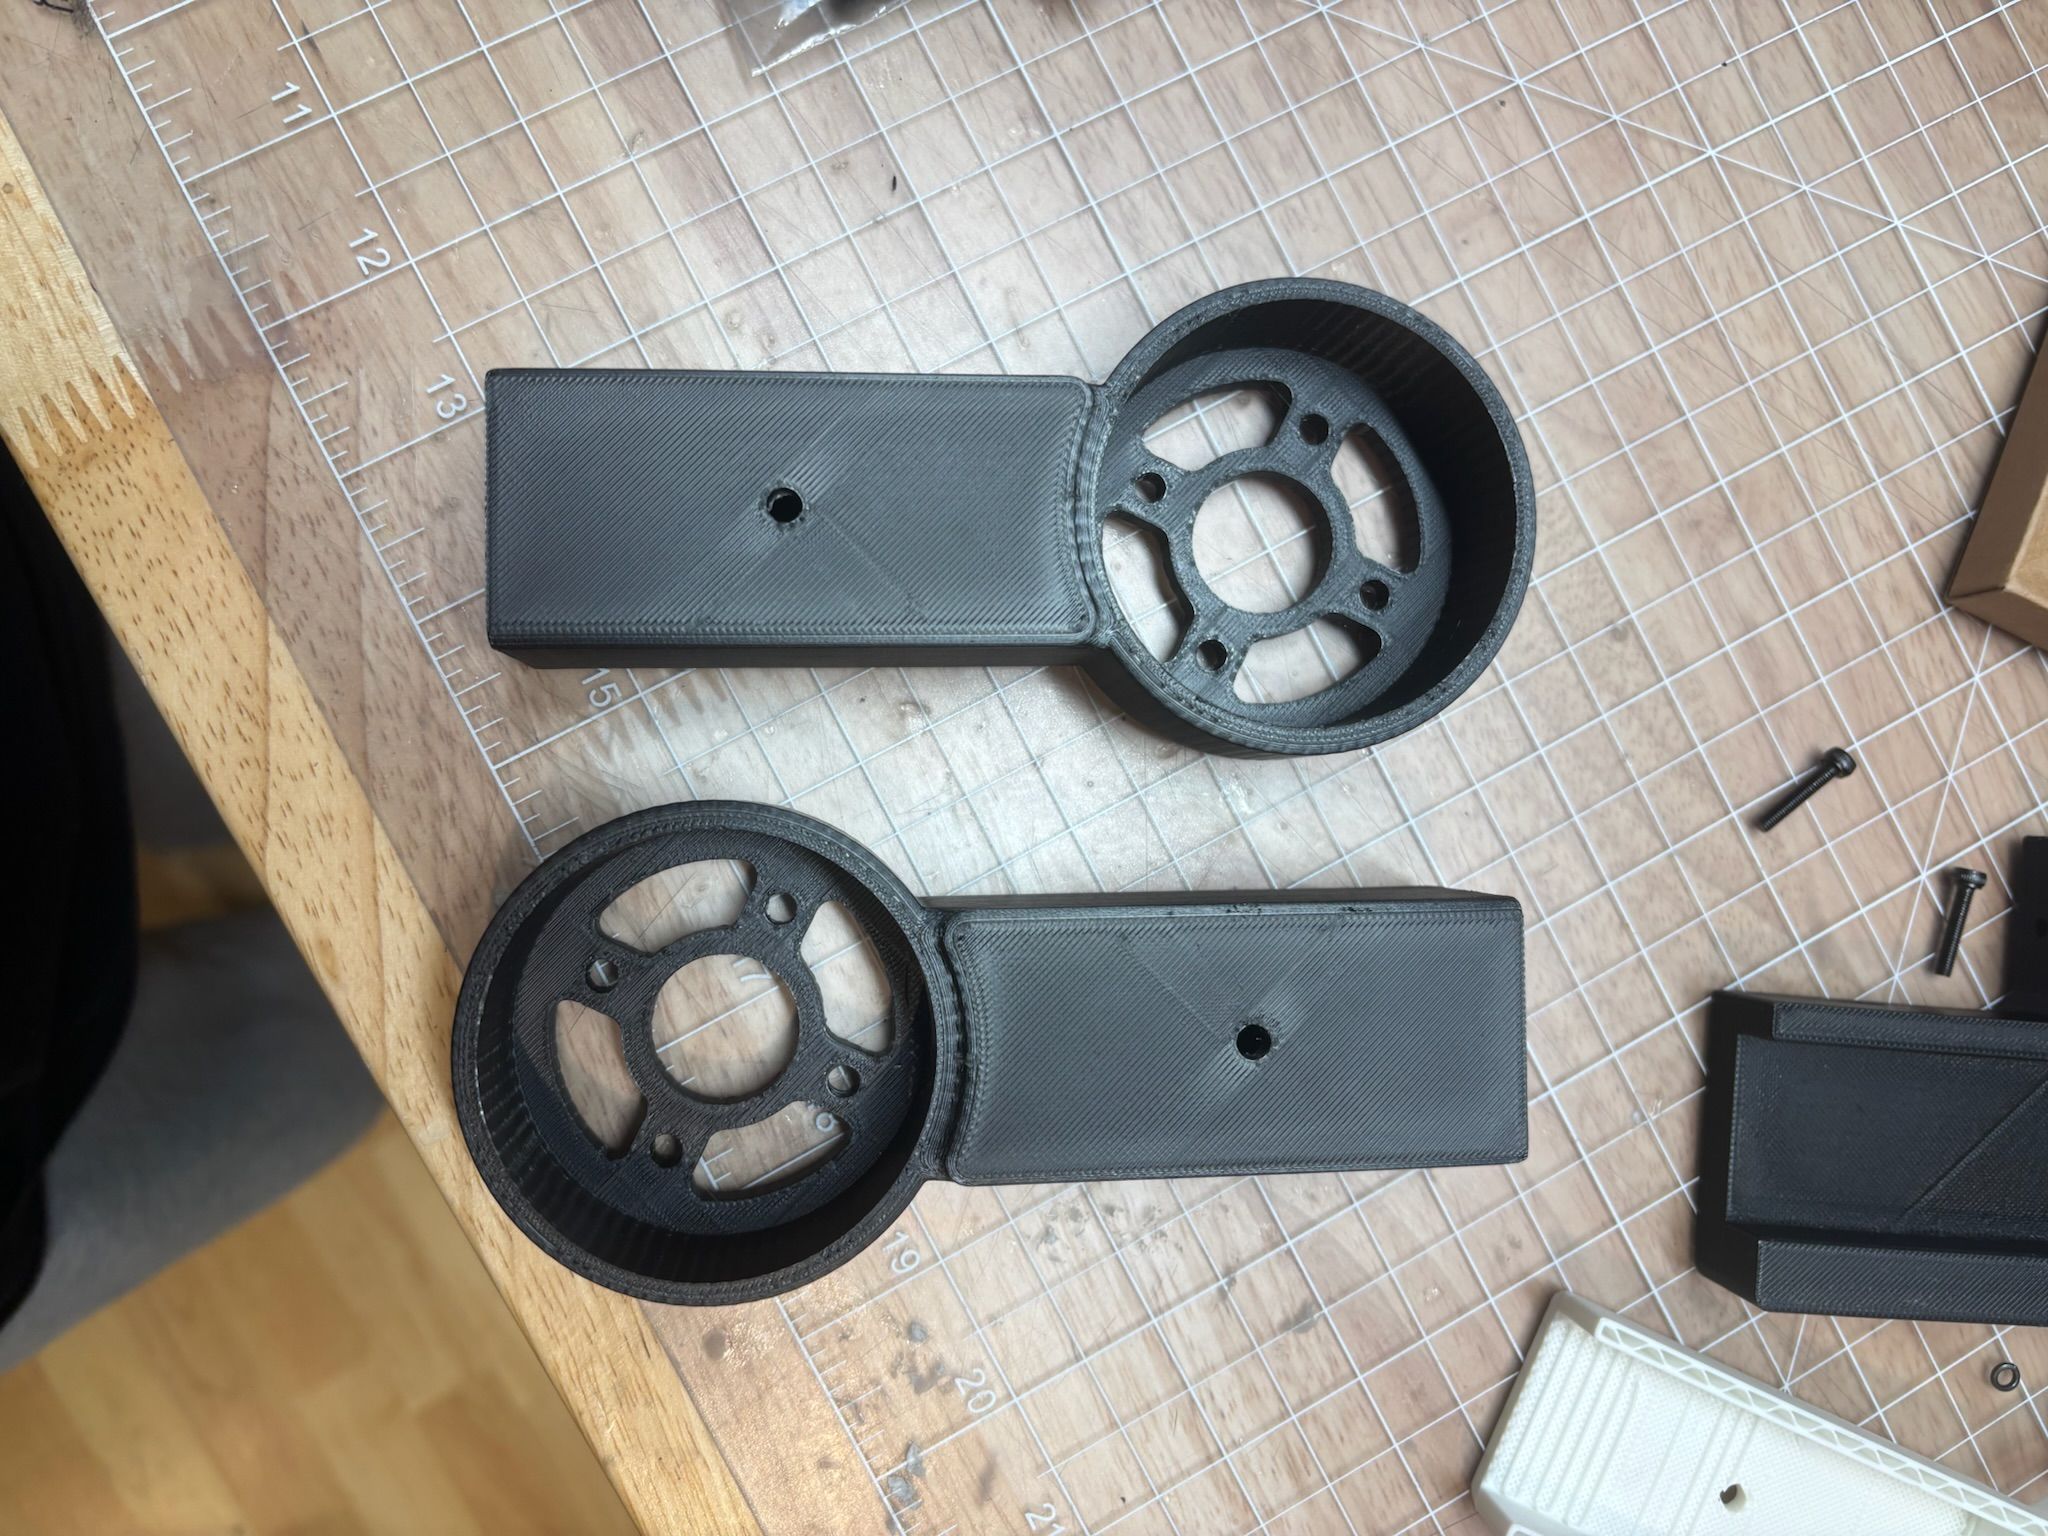
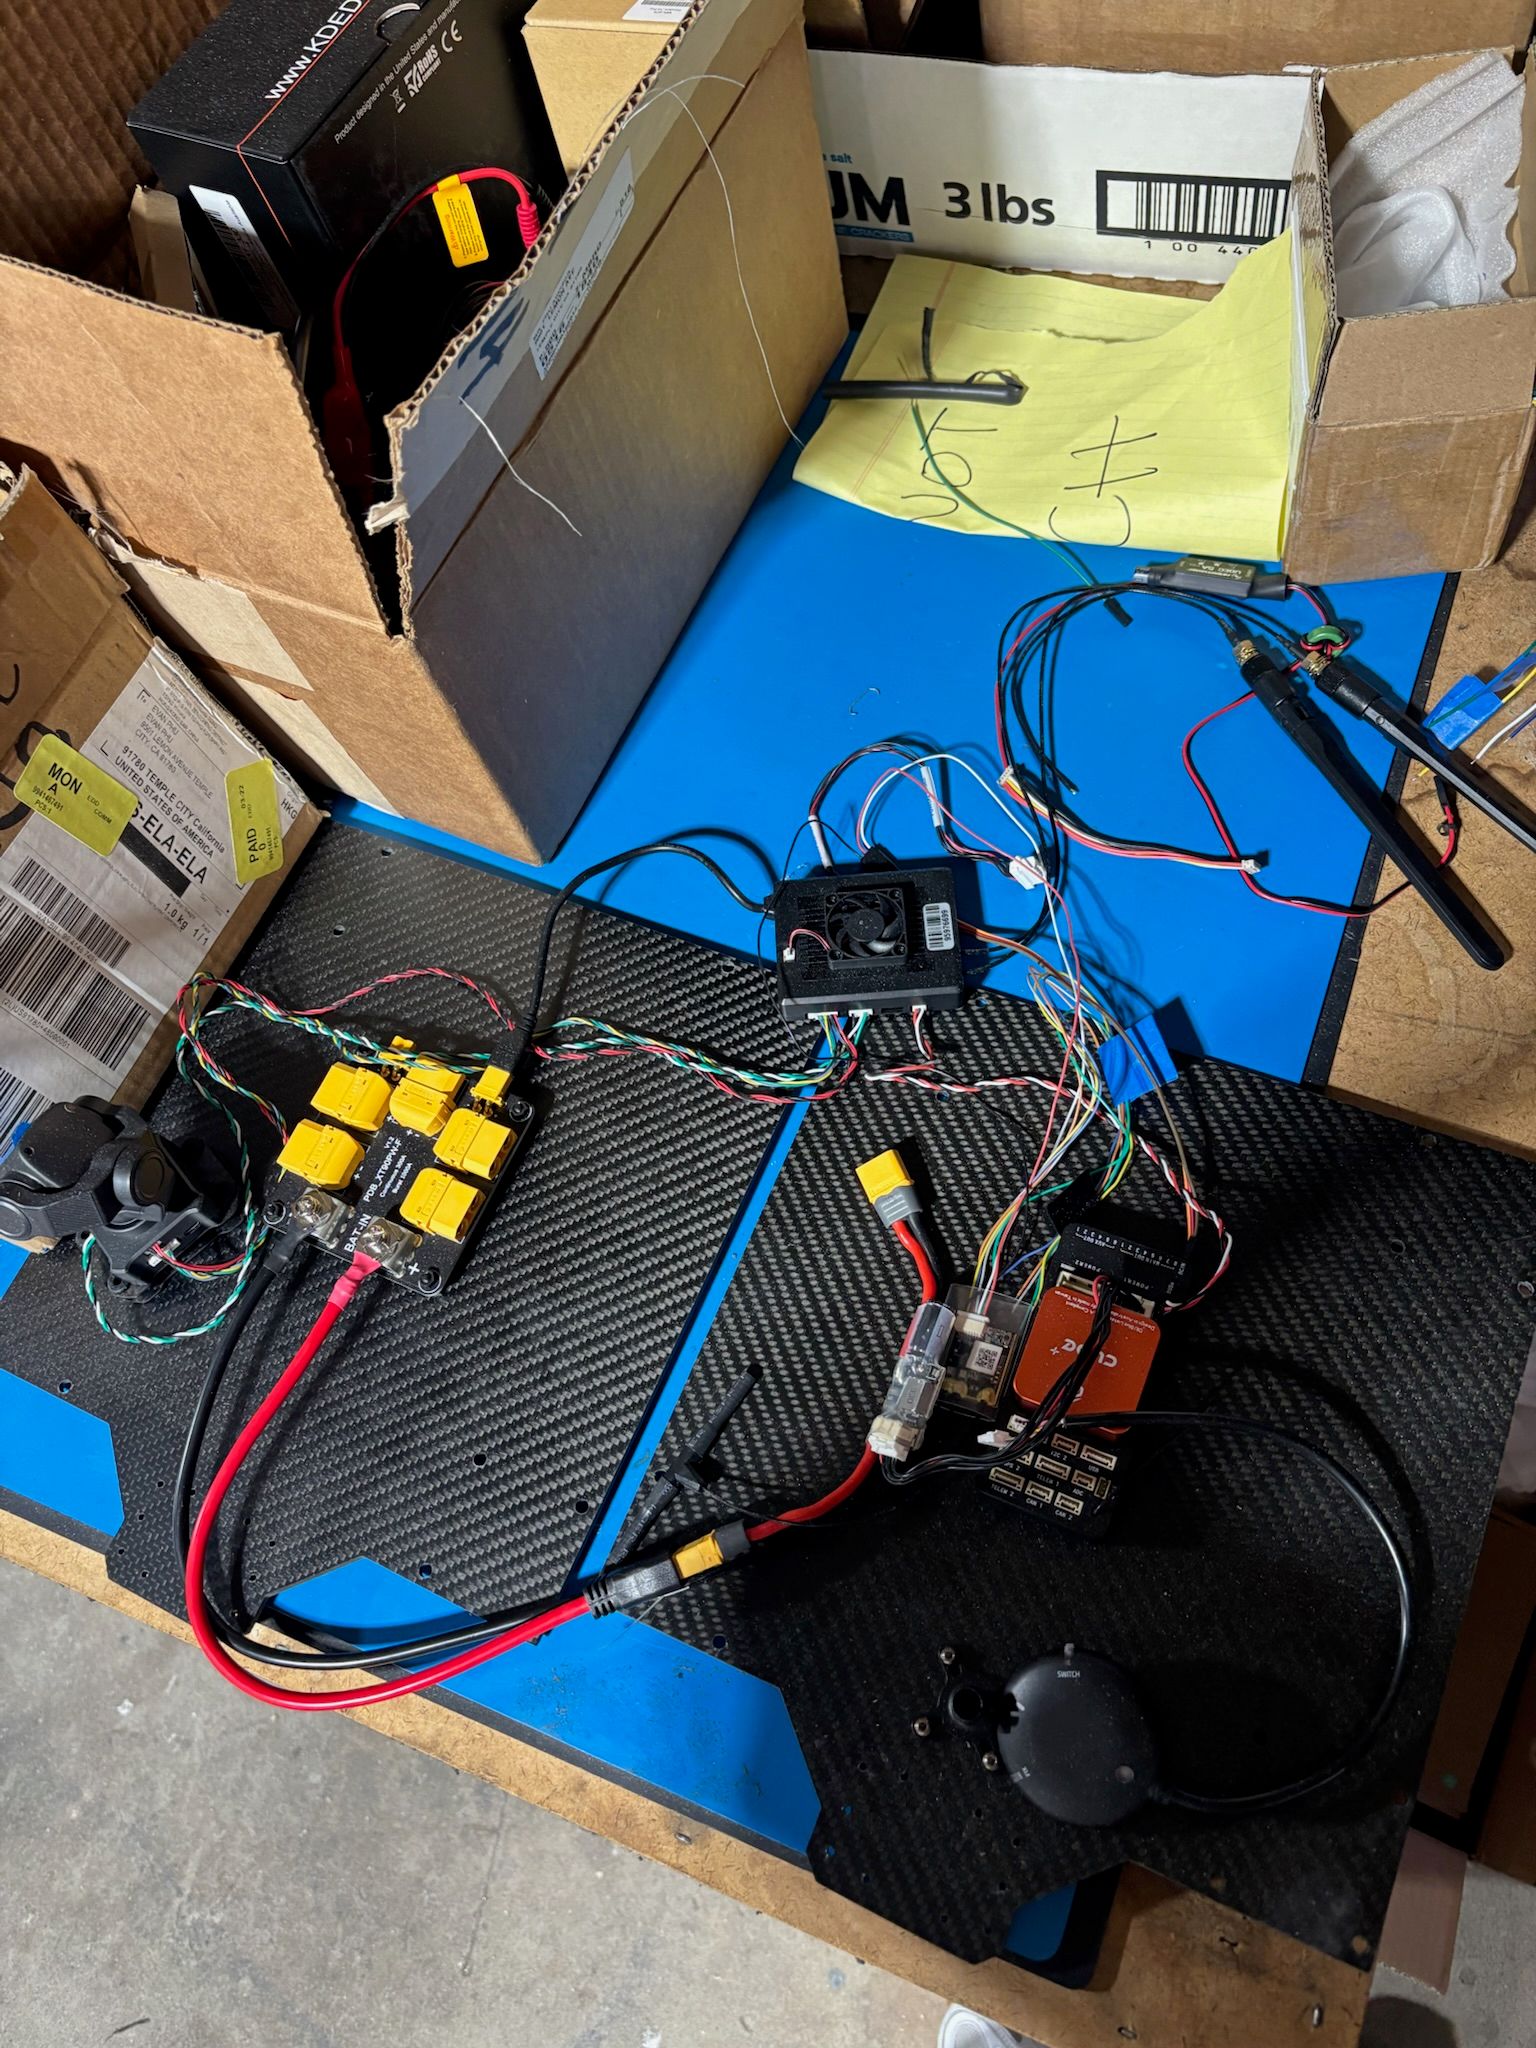
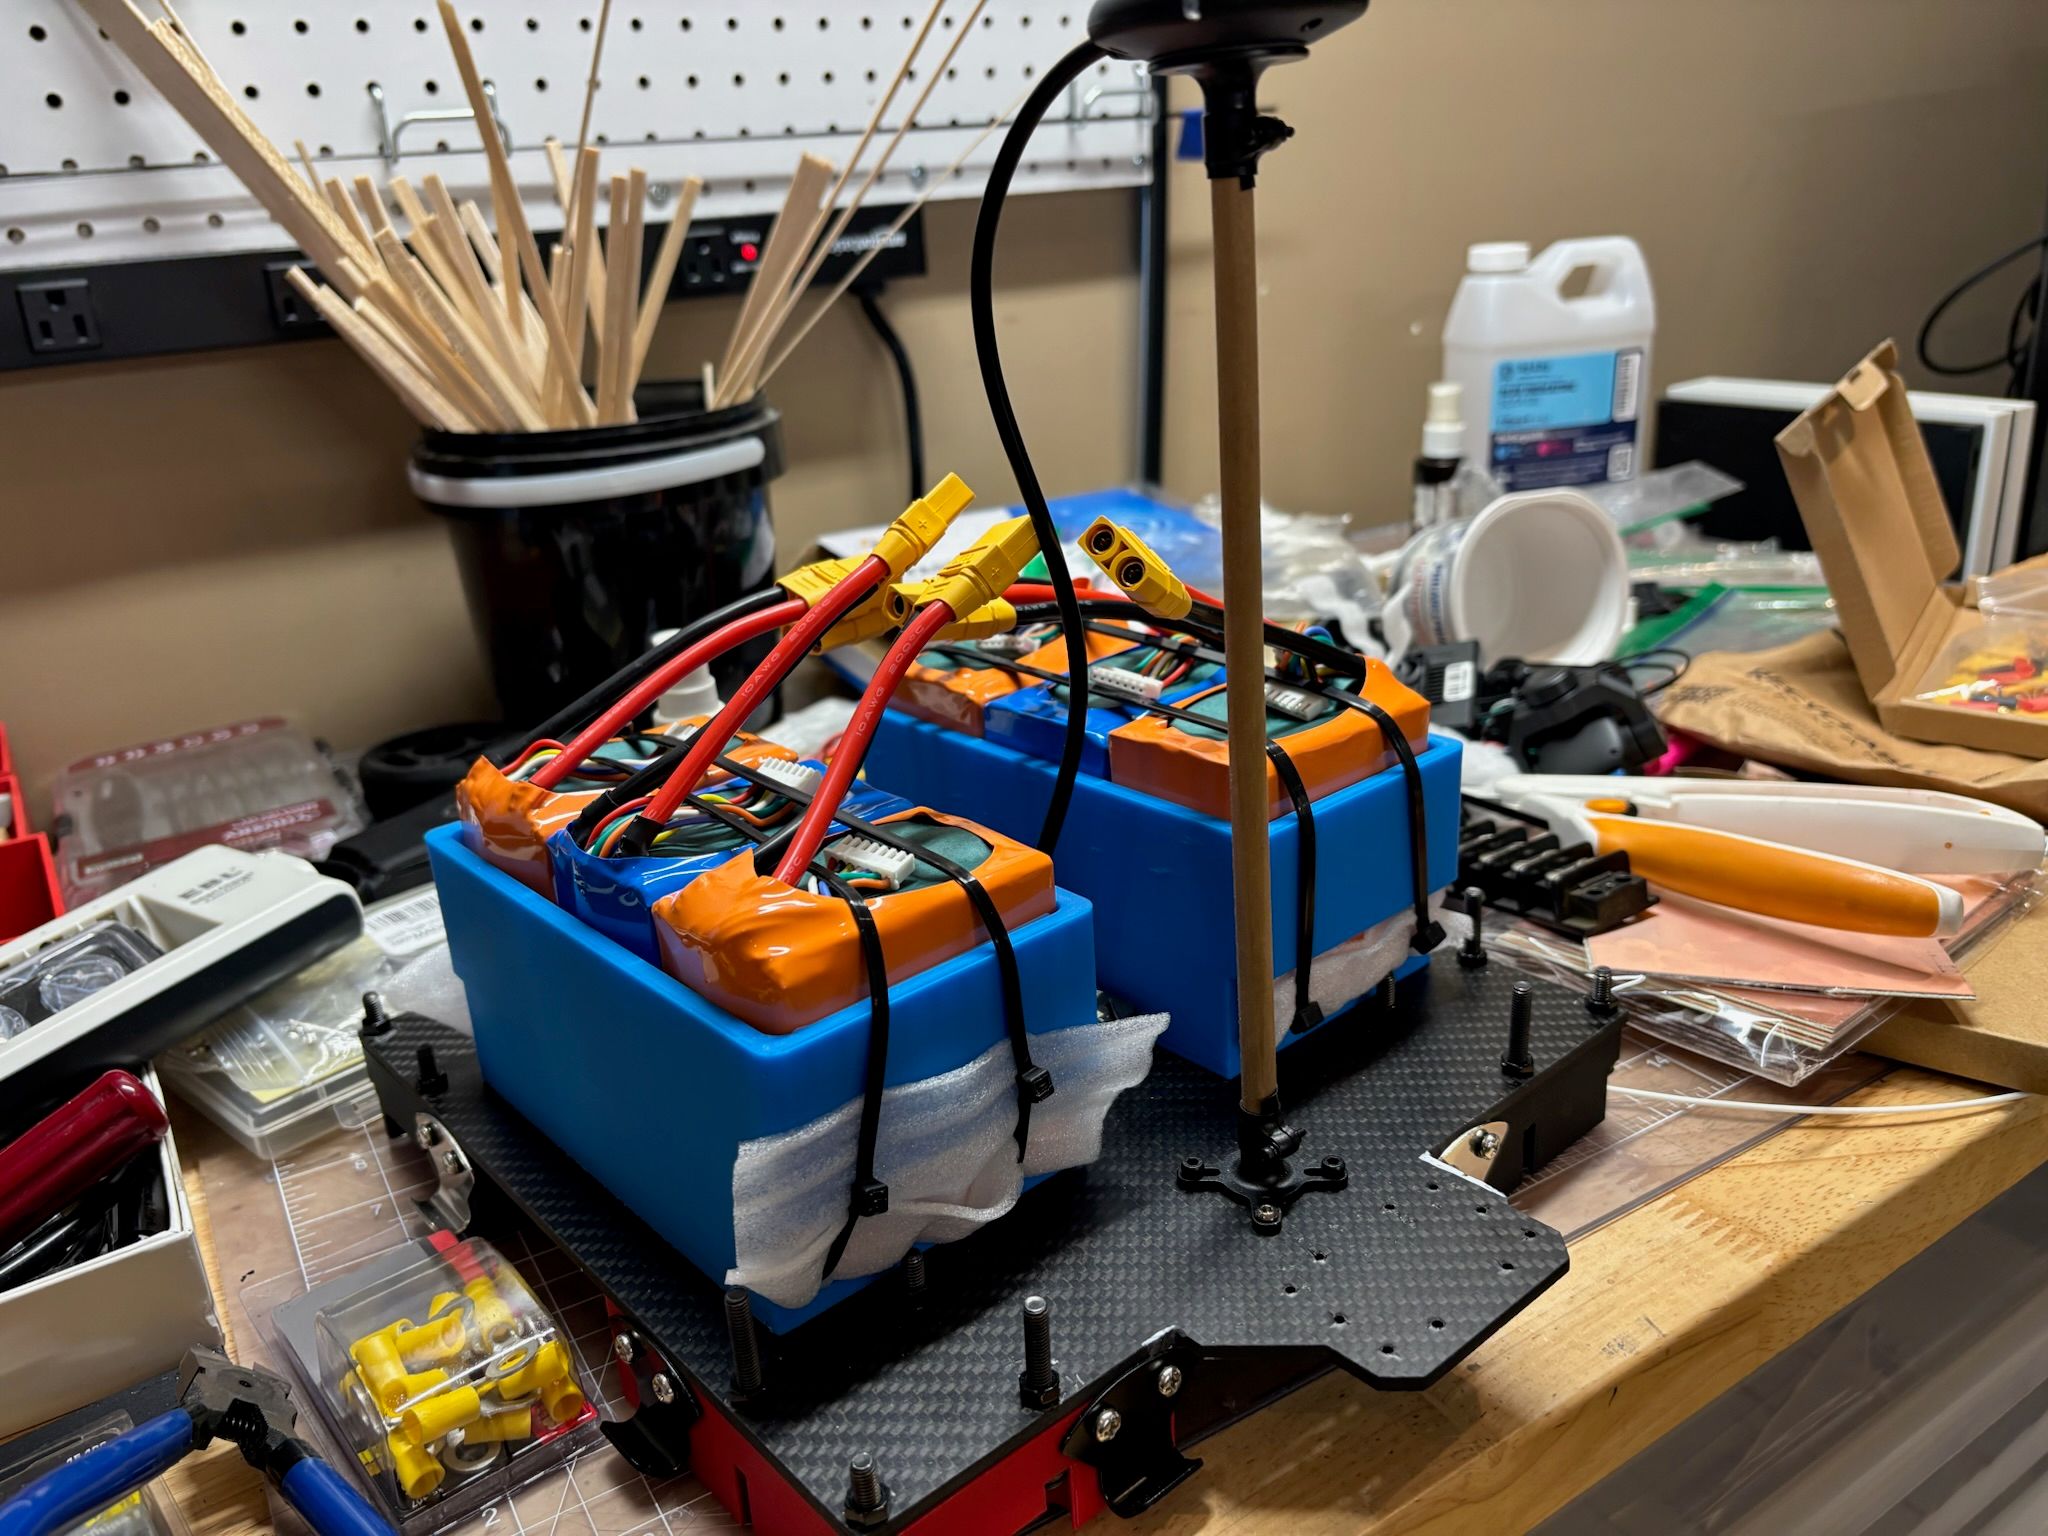
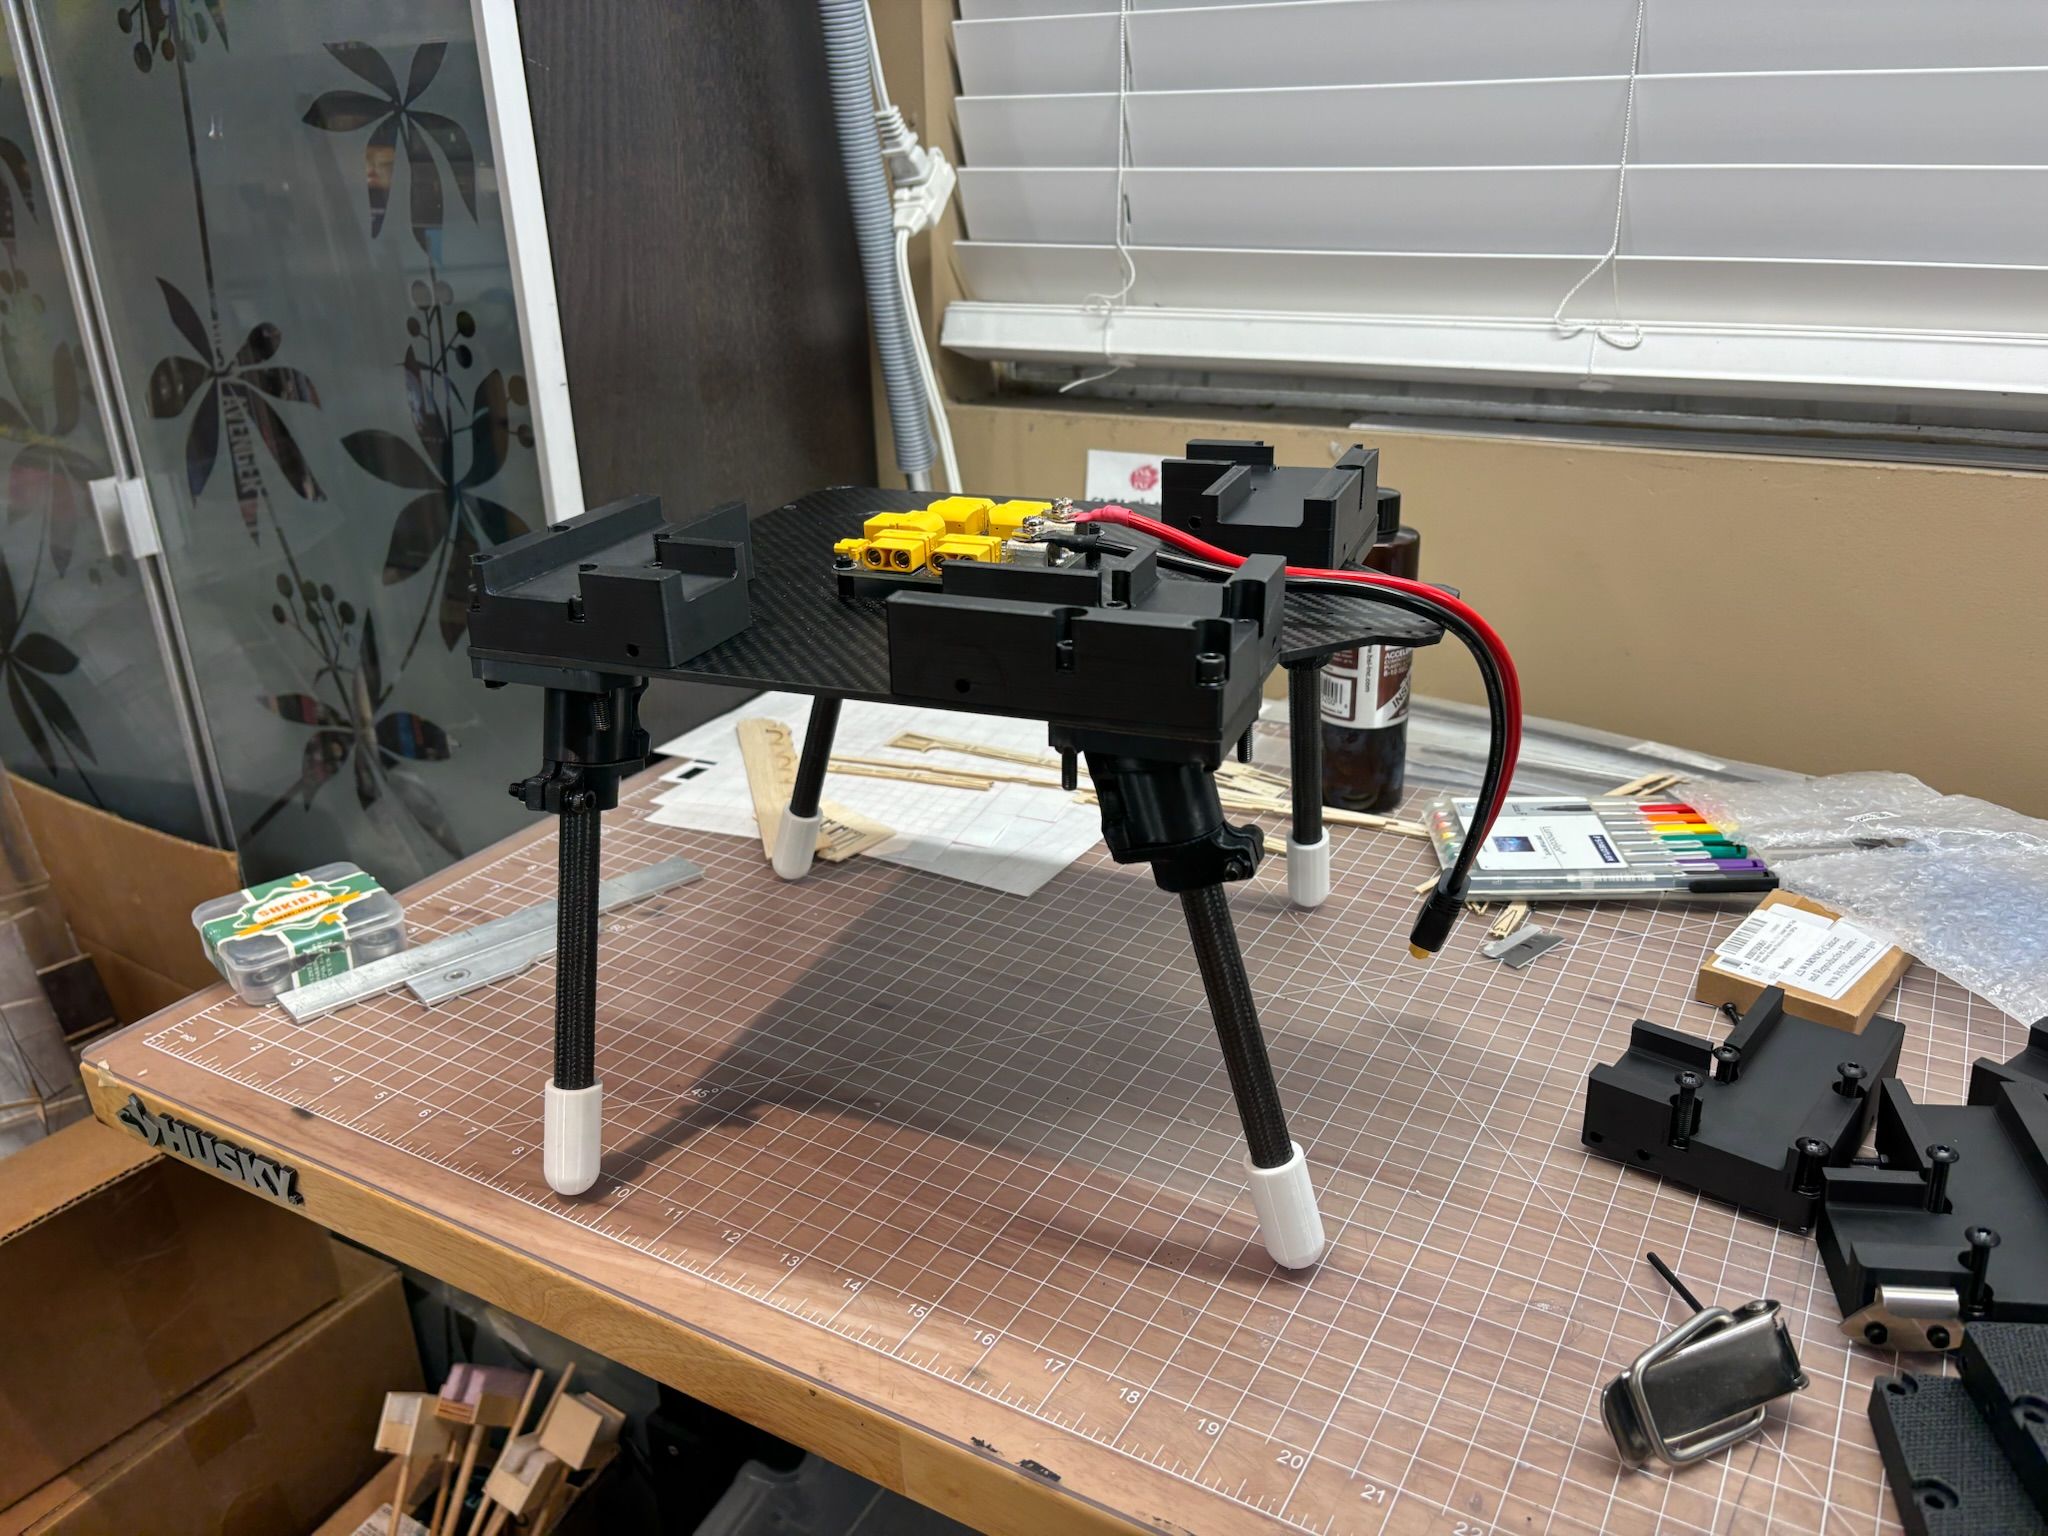
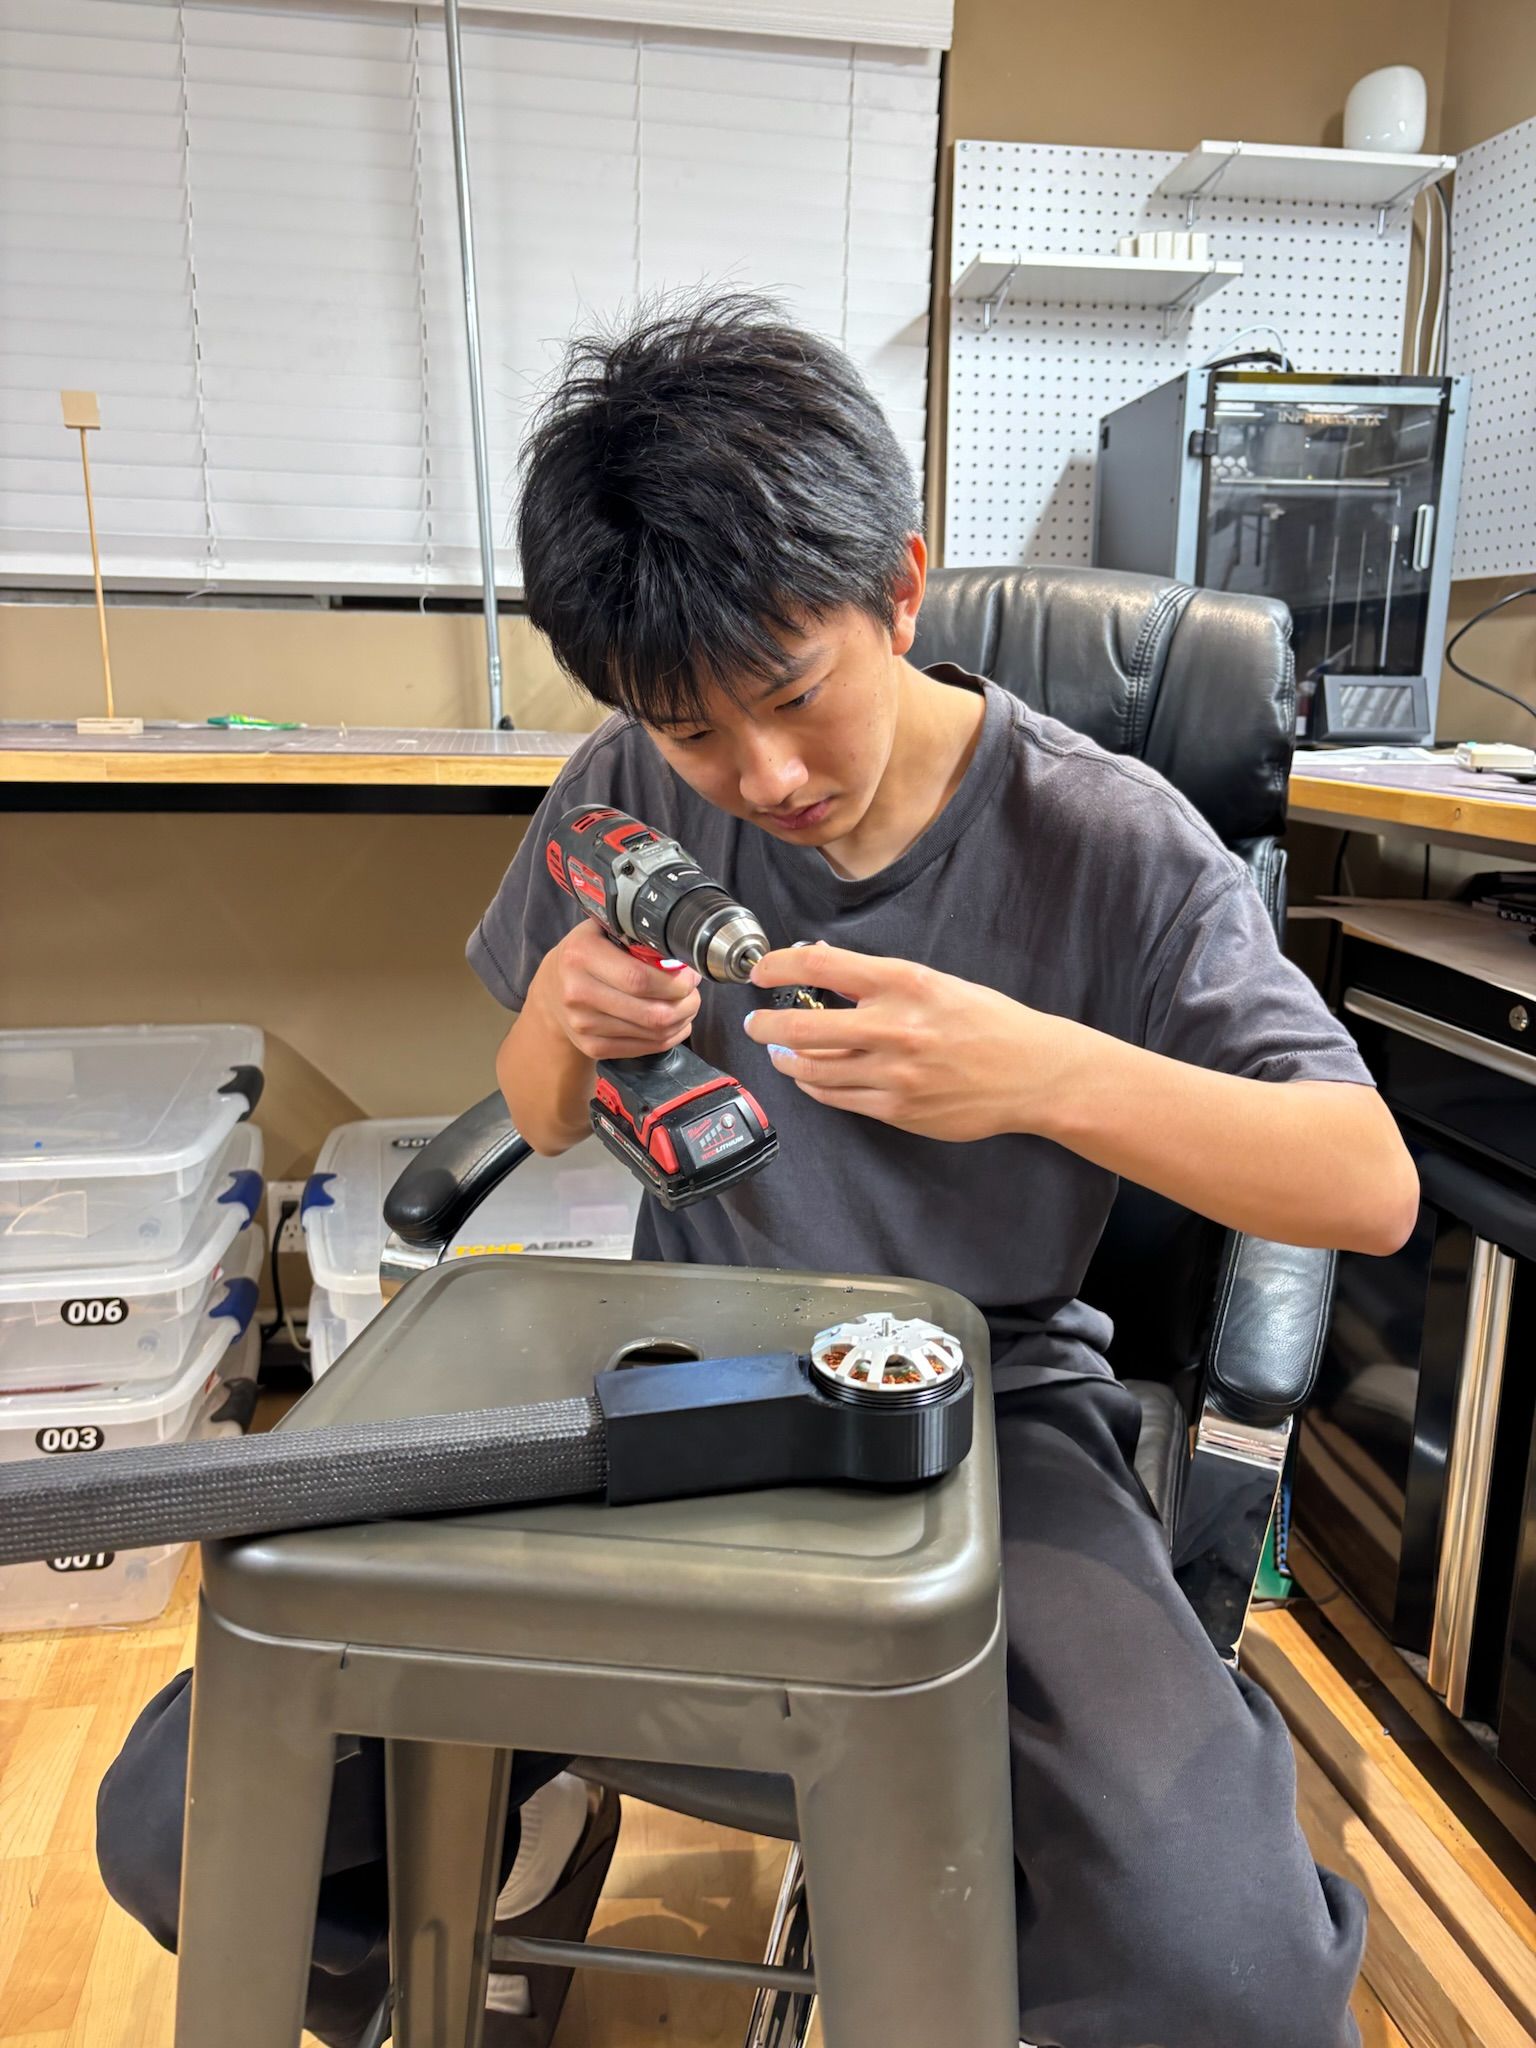
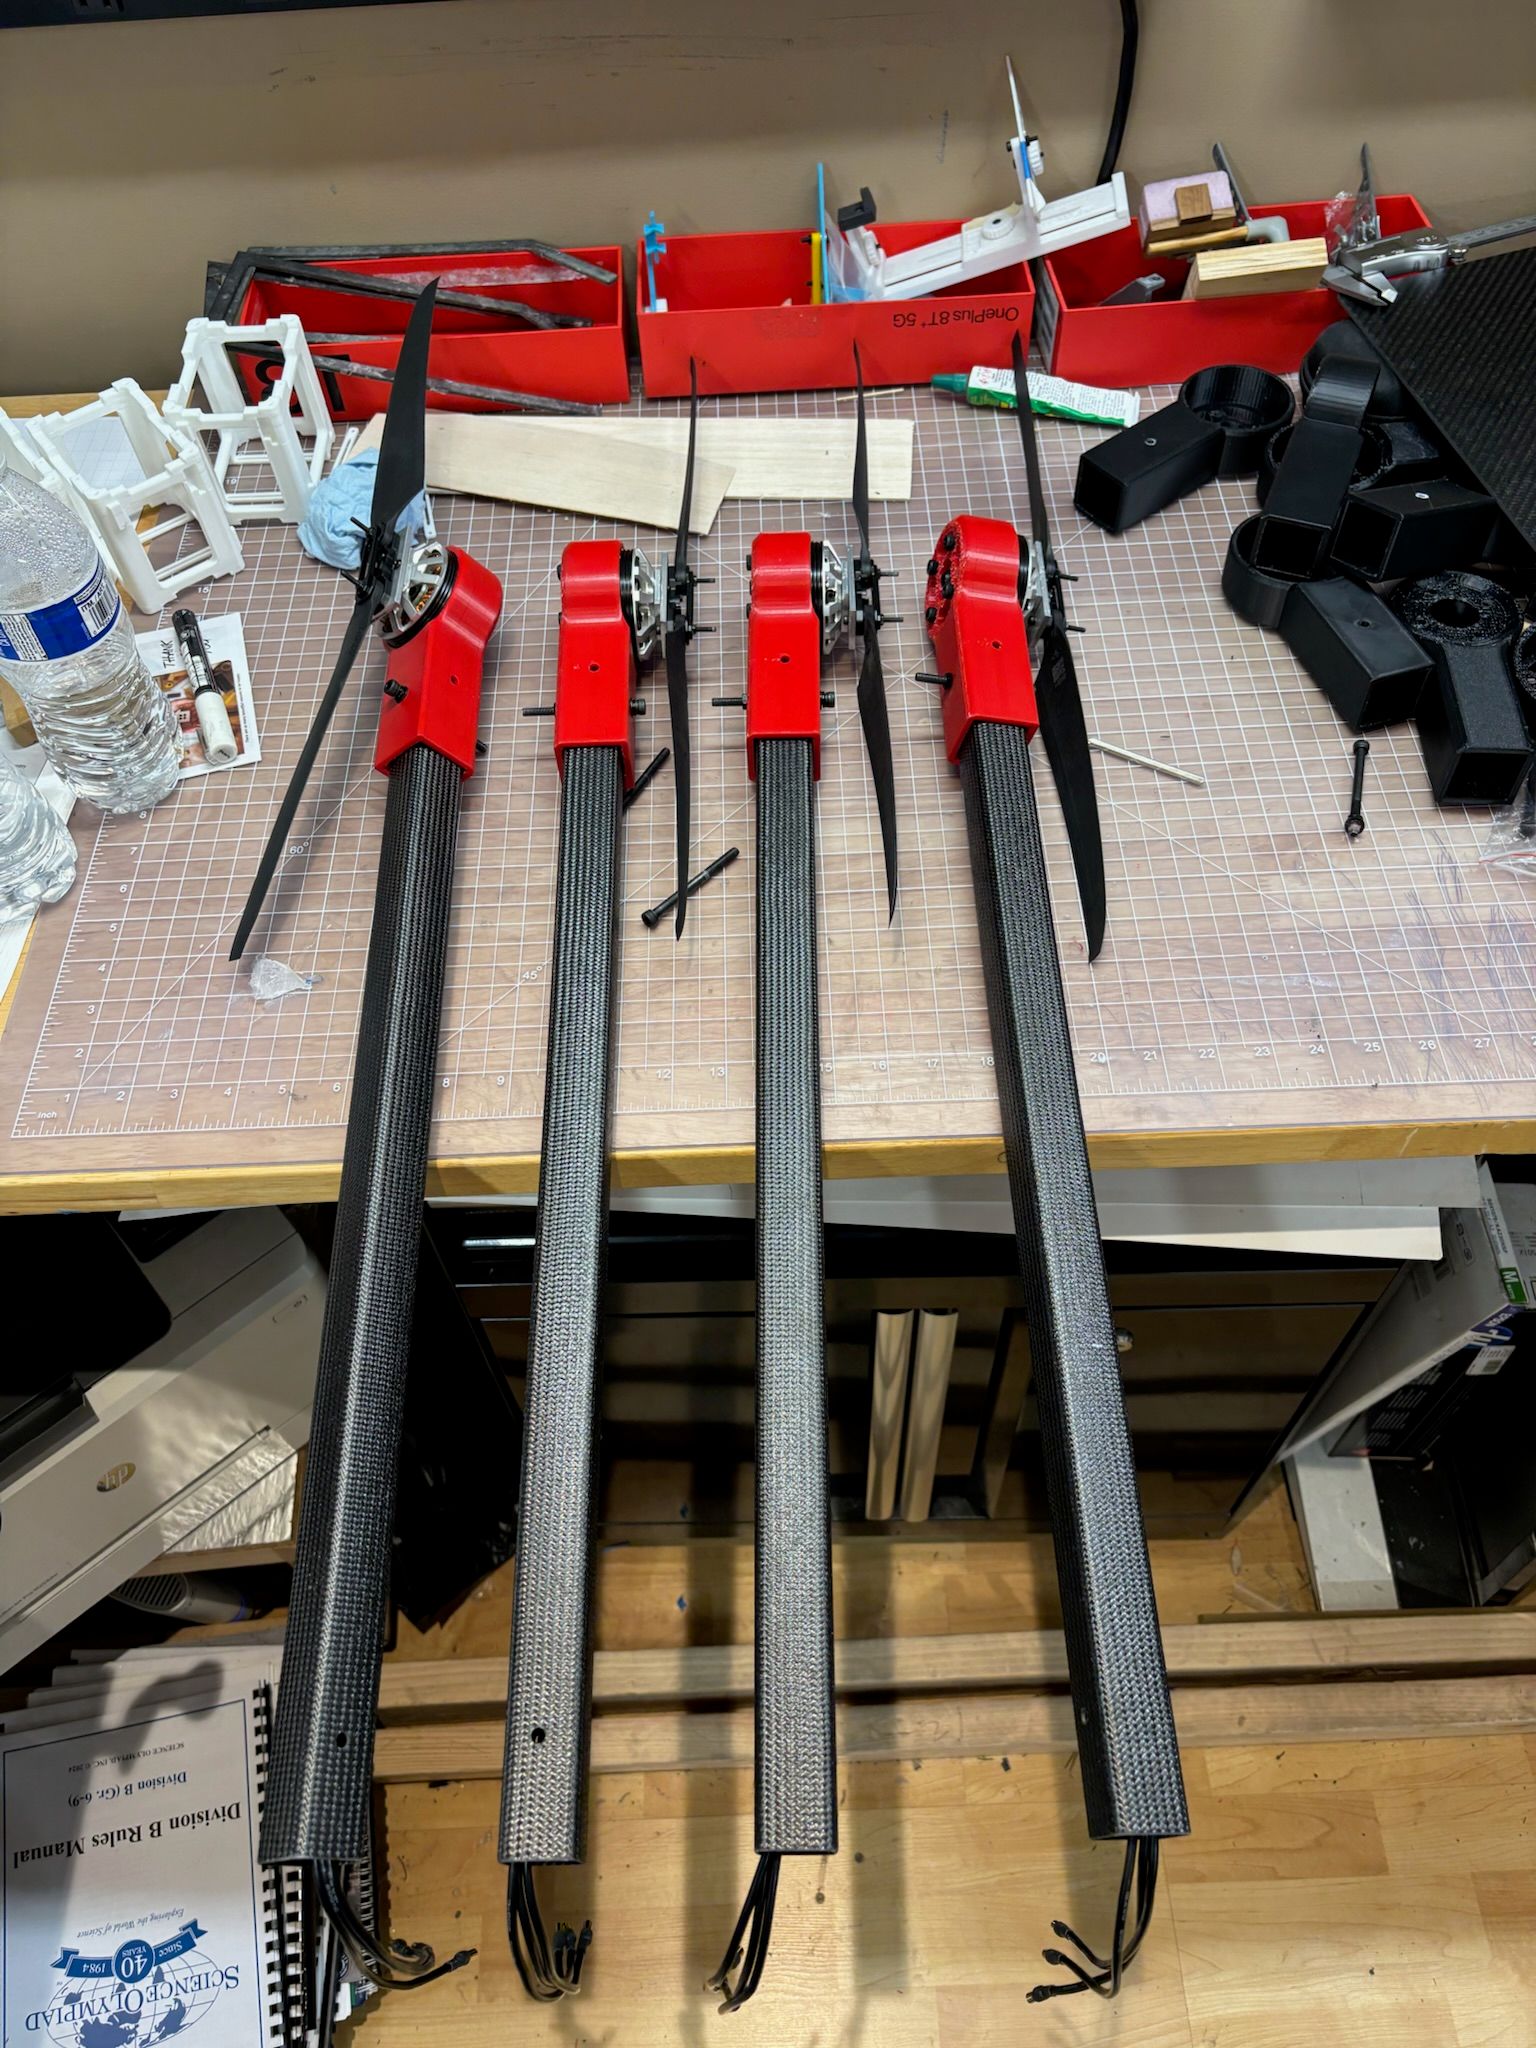
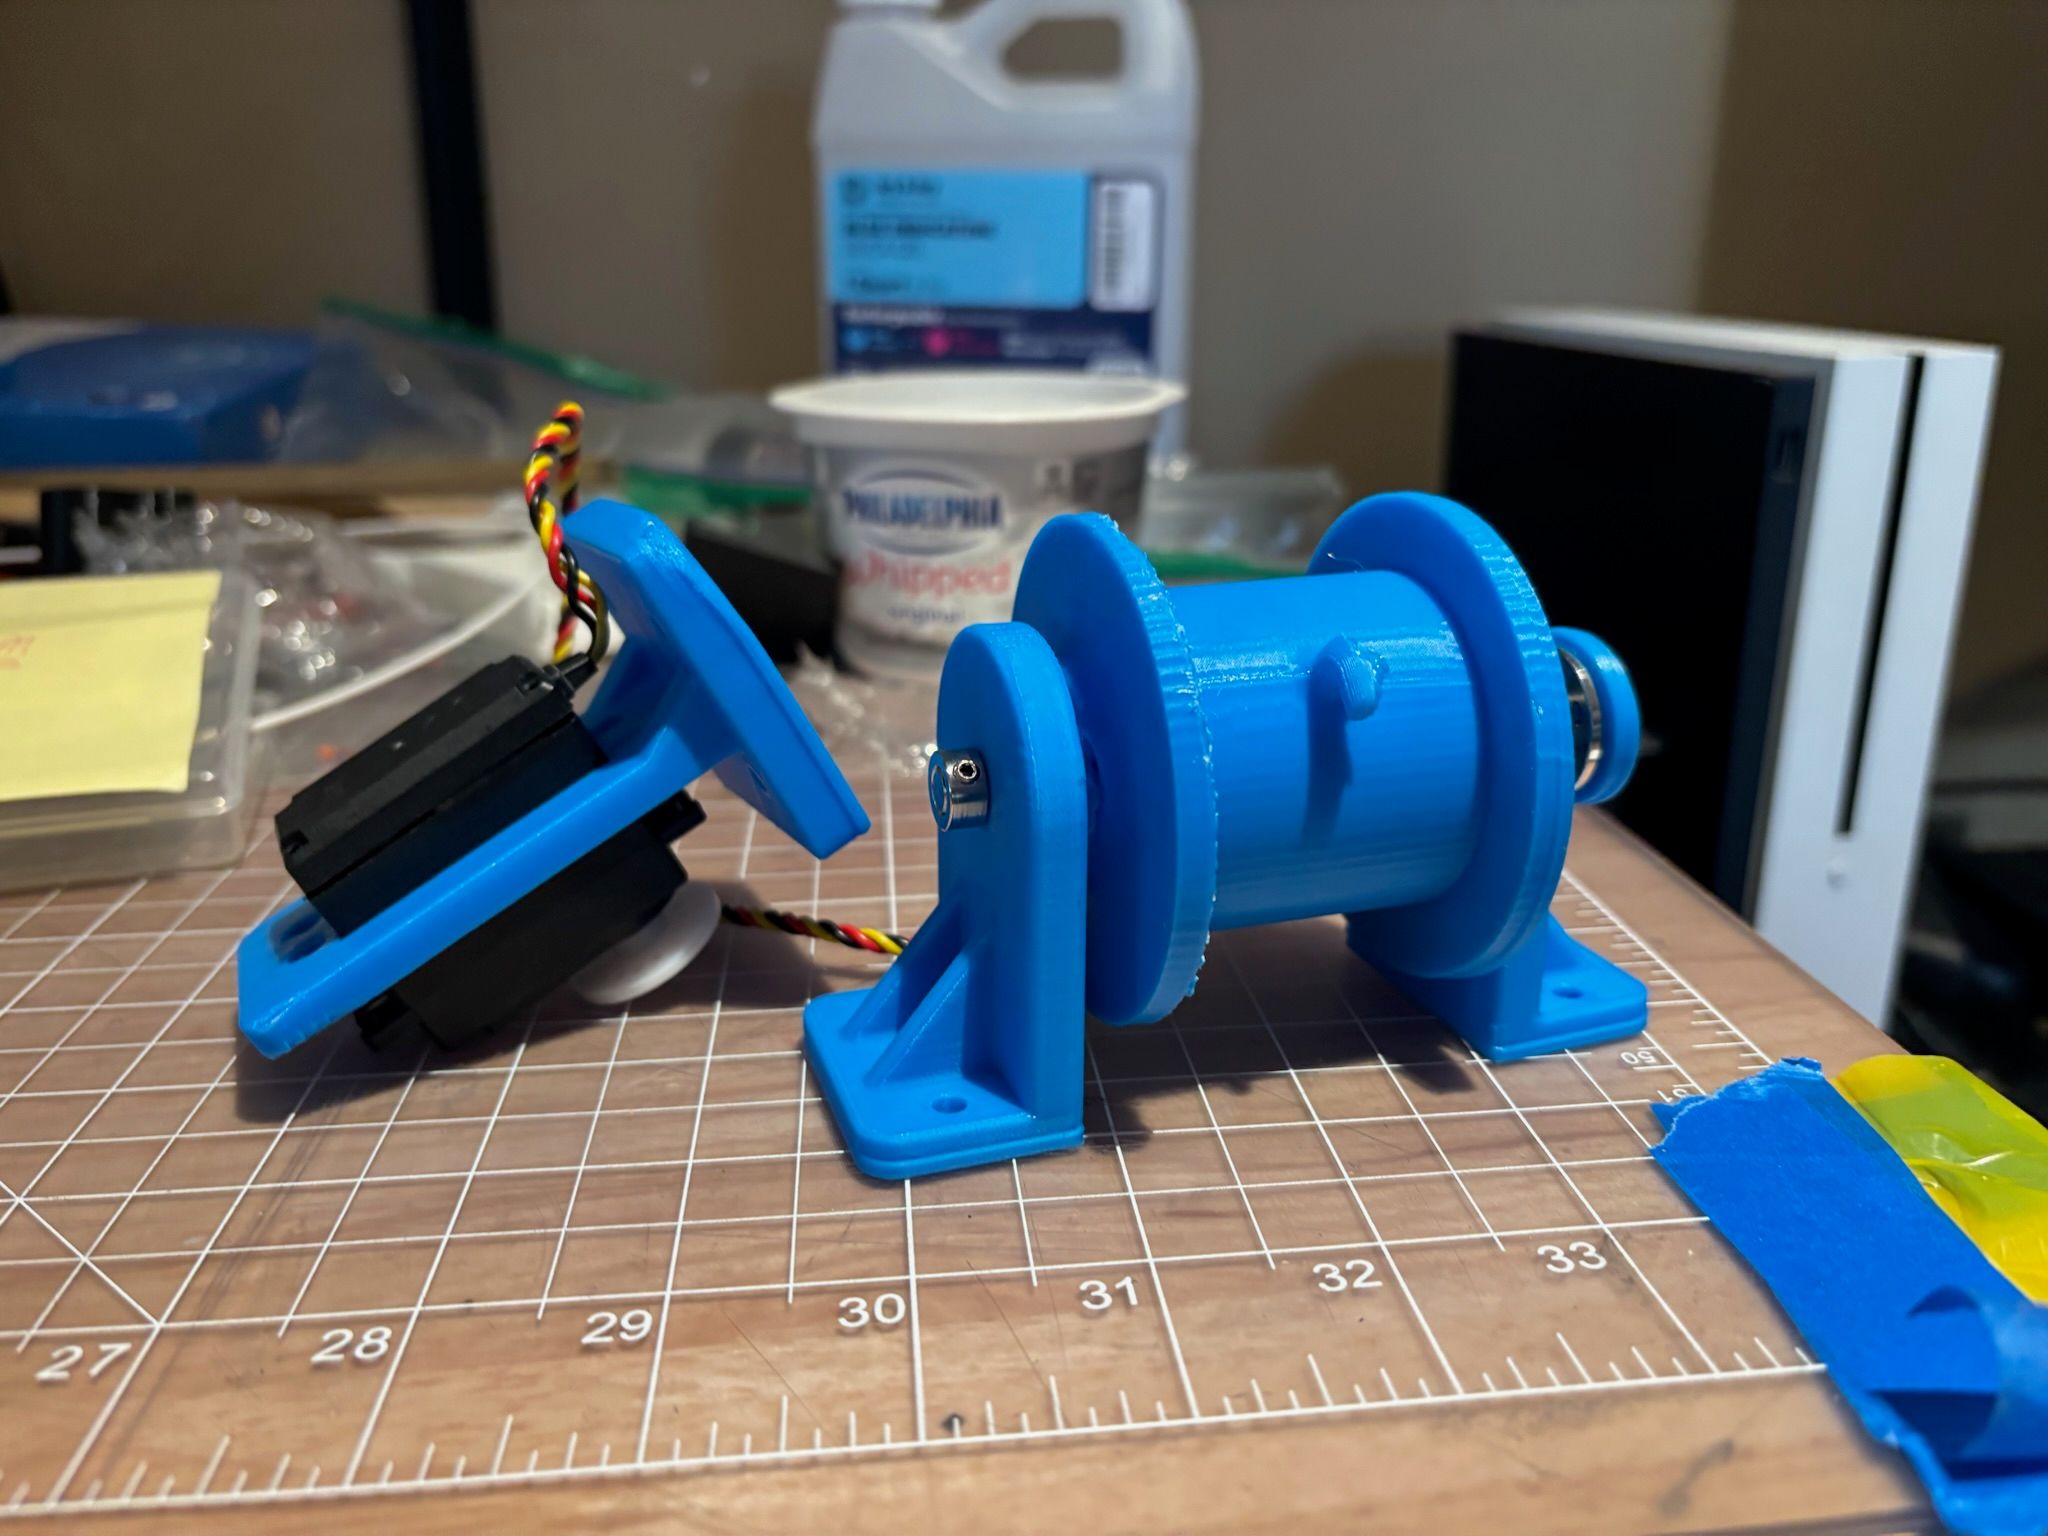
To start the build of the drone, the team 3D printed cad models of clamps, motor mounts, leg mounts, leg tpu covers. Then they wired the electrical systems independently, made the payload sacks, drilled holes and cutted the carbon fiber plates for the drone.

 1  2  3  4

Build 2

Once the team printed all the essential components, it's time to assemble.

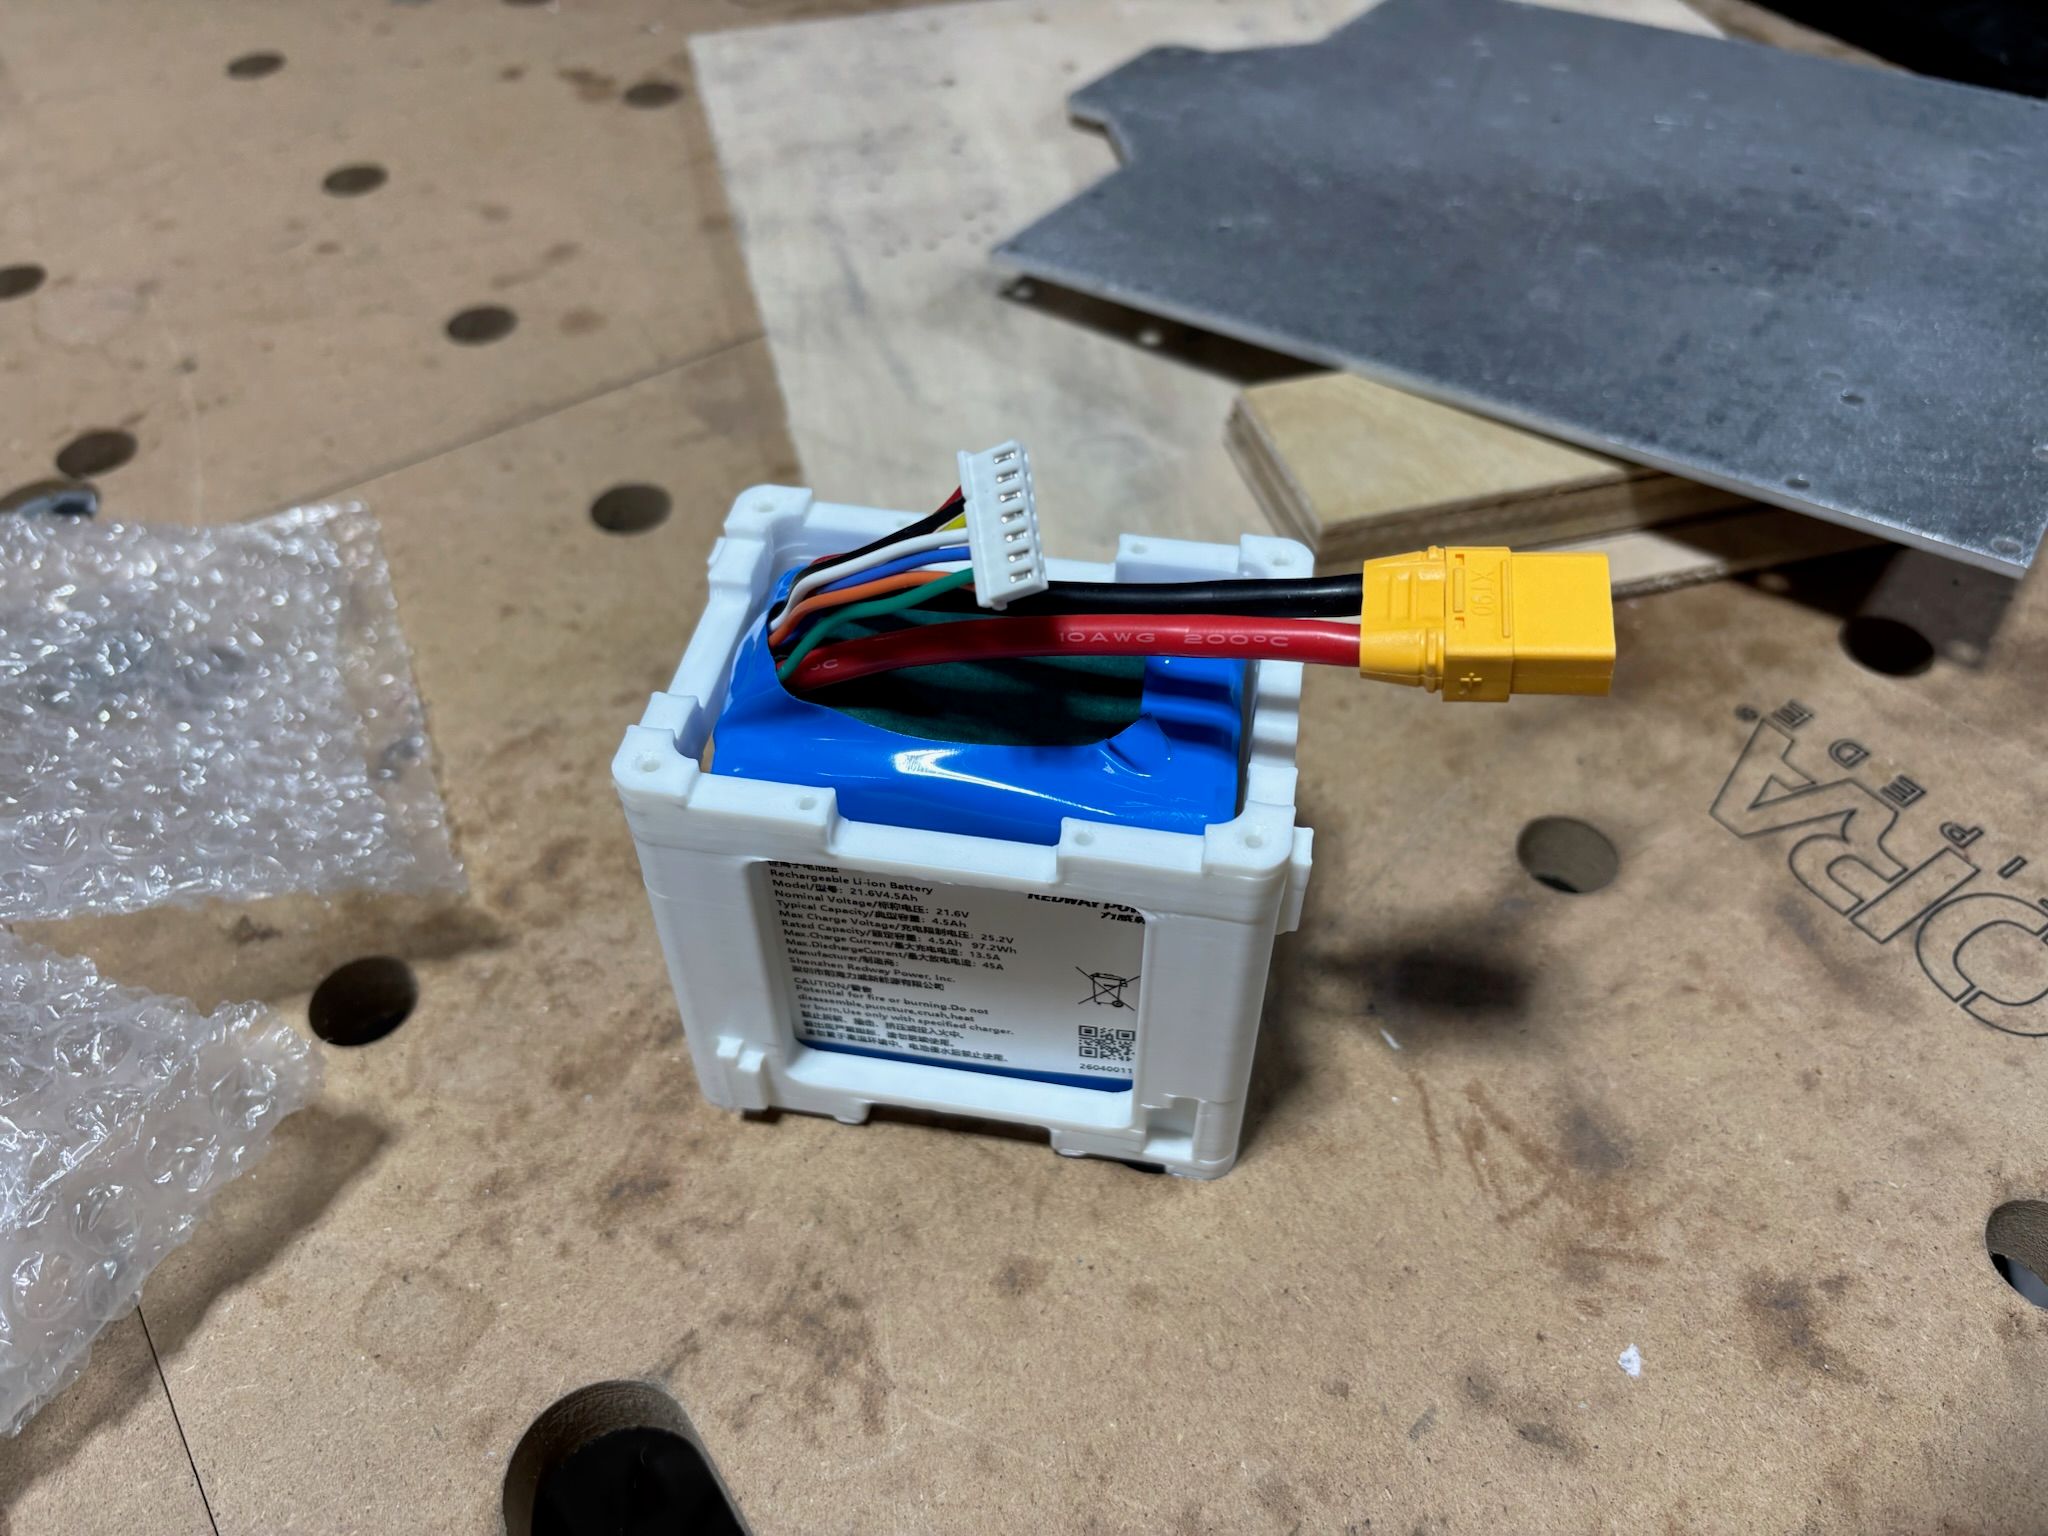
The team first screwed on the mounts to connect the arms to the motors. They also clamped to the two carbon fiber plates, and screwed on the latches to the clamps. They screwed the leg mounts to the plates as well, and attached the leg coveres. For electronics, the team scrwed them to the plates and made battery mountes and screwed them to the plates. To secure them, the team used zip ties. Then, they wired all the electronics together. For the motors, the team made customed prop mounts to attach to the props to the motors.

 1  2  3

Flight Testing

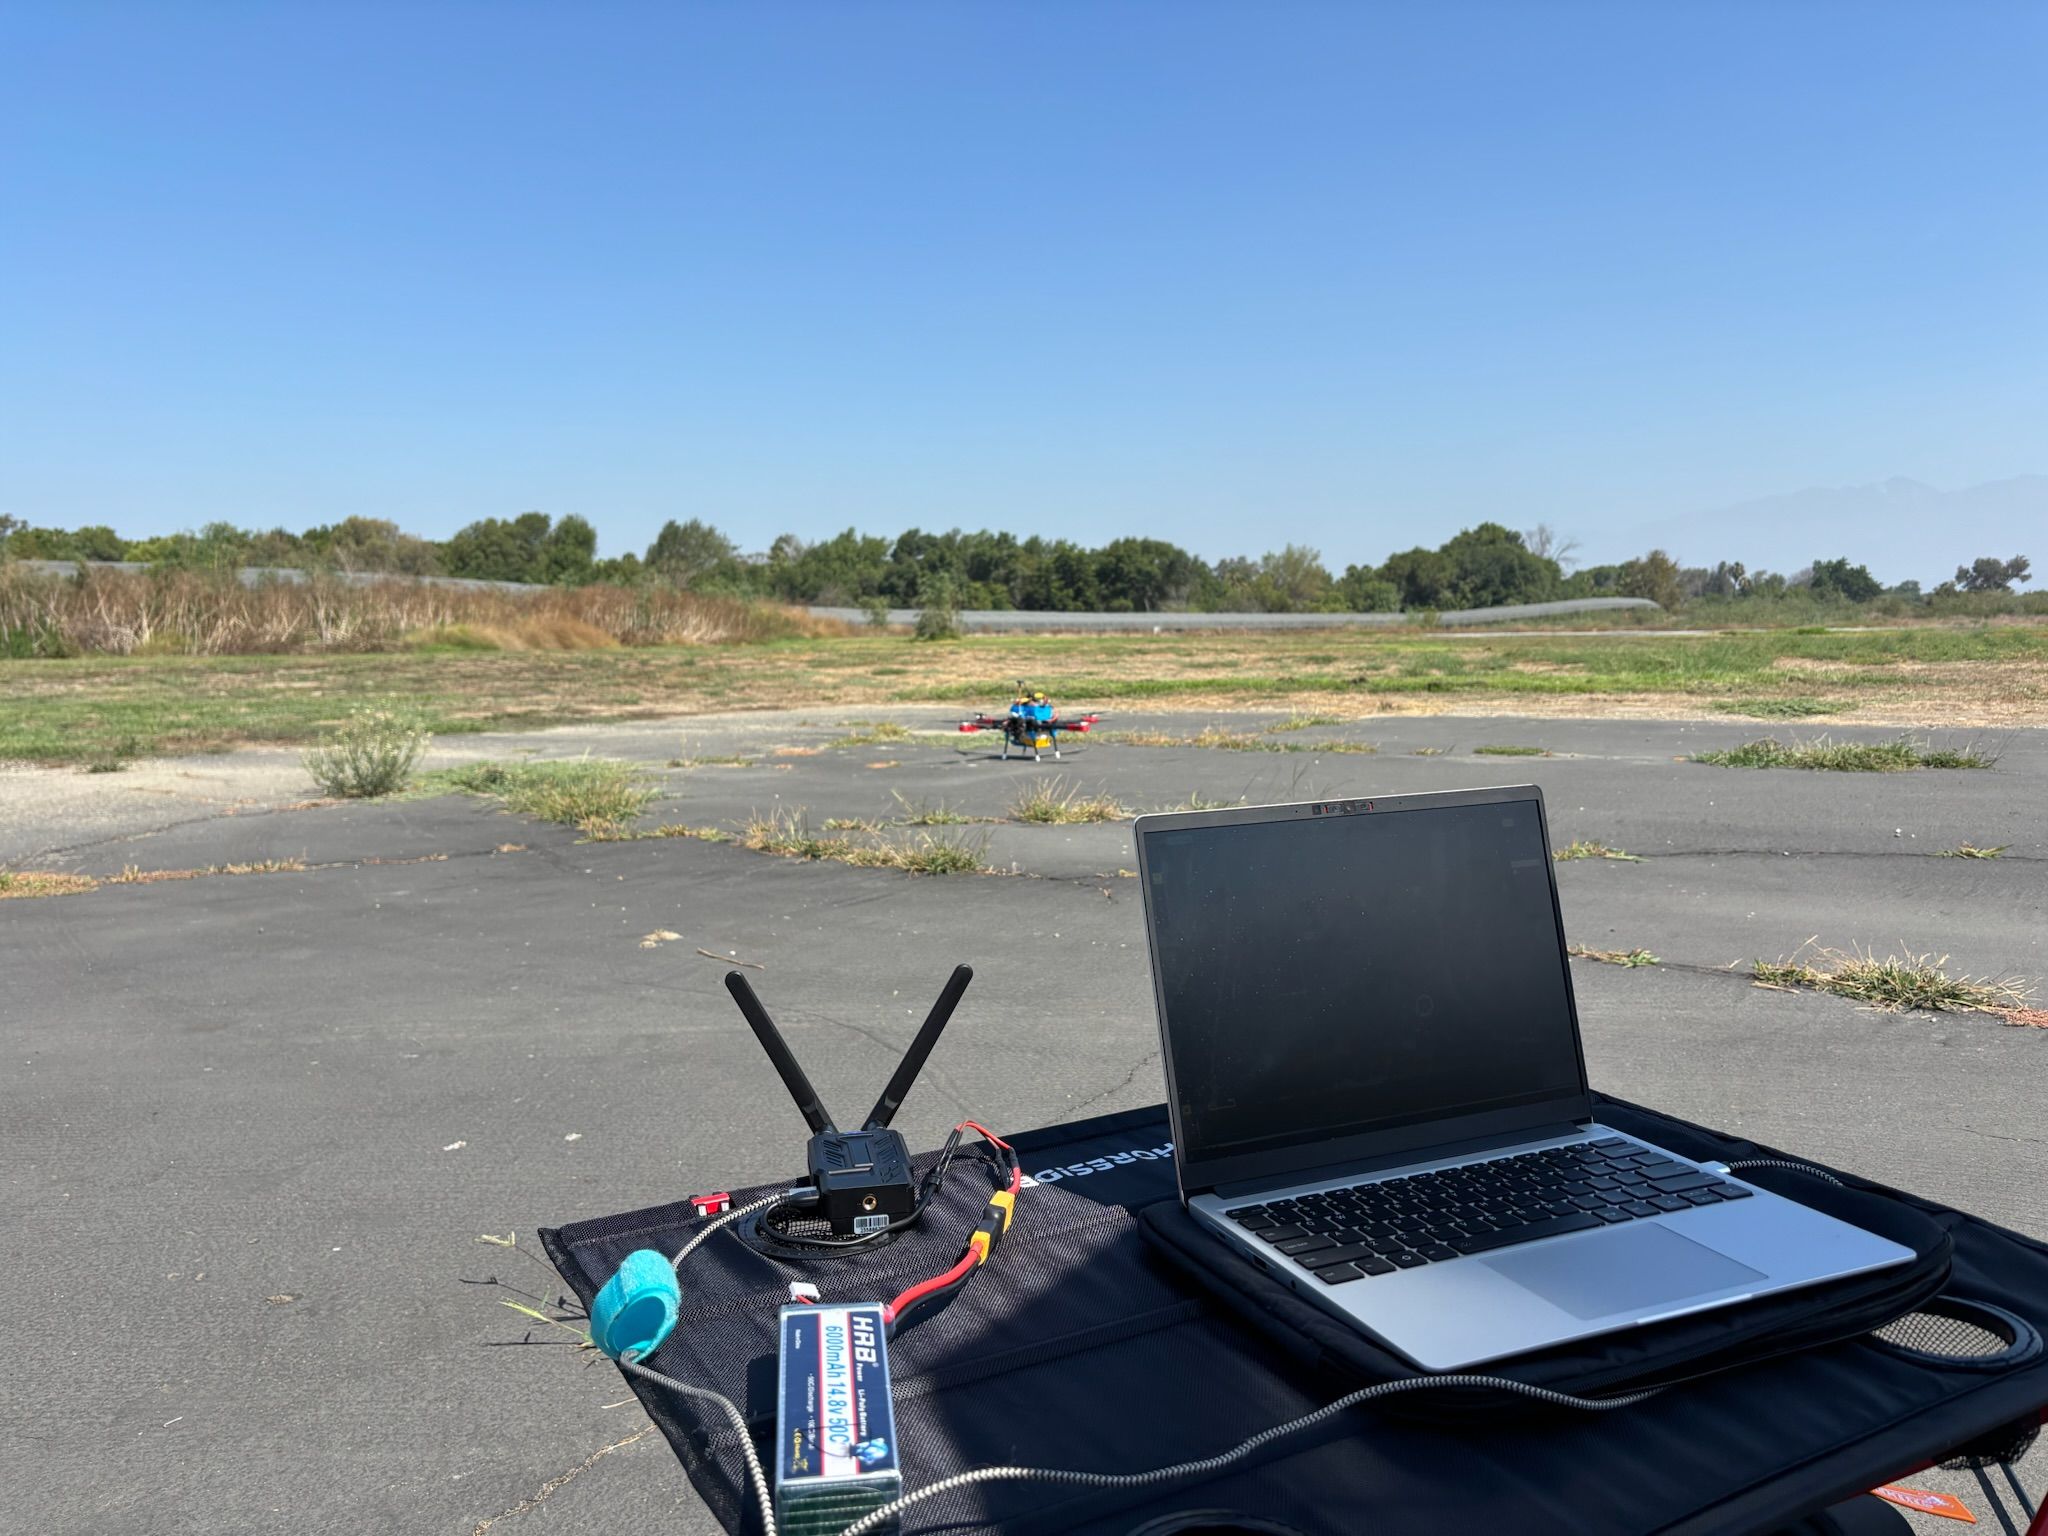
After the drone was fully built, it's time to test!

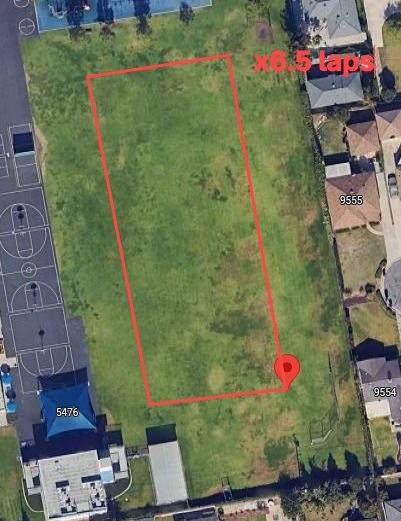
Flight testing began with a successful 1 mile flight, proving the airframe and power systems were fundamentally sound. Subsequent sessions surfaced the challenges that only real-world conditions can reveal — an unexpected wind gust draining the battery mid-flight, and a series of motor and propeller checks that exposed how critical prop inspection is before every single flight.

Each setback became a lesson the team documented and corrected. By the final sessions, pre-flight checklists were tightened and the crew had built the kind of operational discipline that separates a hobby build from a competition aircraft. The knowledge gained on the field directly shaped every decision made going into the final build before the competition begin.

Want to Support the Build?

Our sponsors make it possible to buy the materials, tools, and components that turn sketches into flying aircraft.